How to enable the Nitro Sign Add-in
1. Launch Microsoft Outlook, click Get Add-ins from the Home tab on the ribbon. You can also select File > Manage Add-ins; or on Mac, select Tools > Get Add-ins2. Use the Search function to search for Nitro Sign
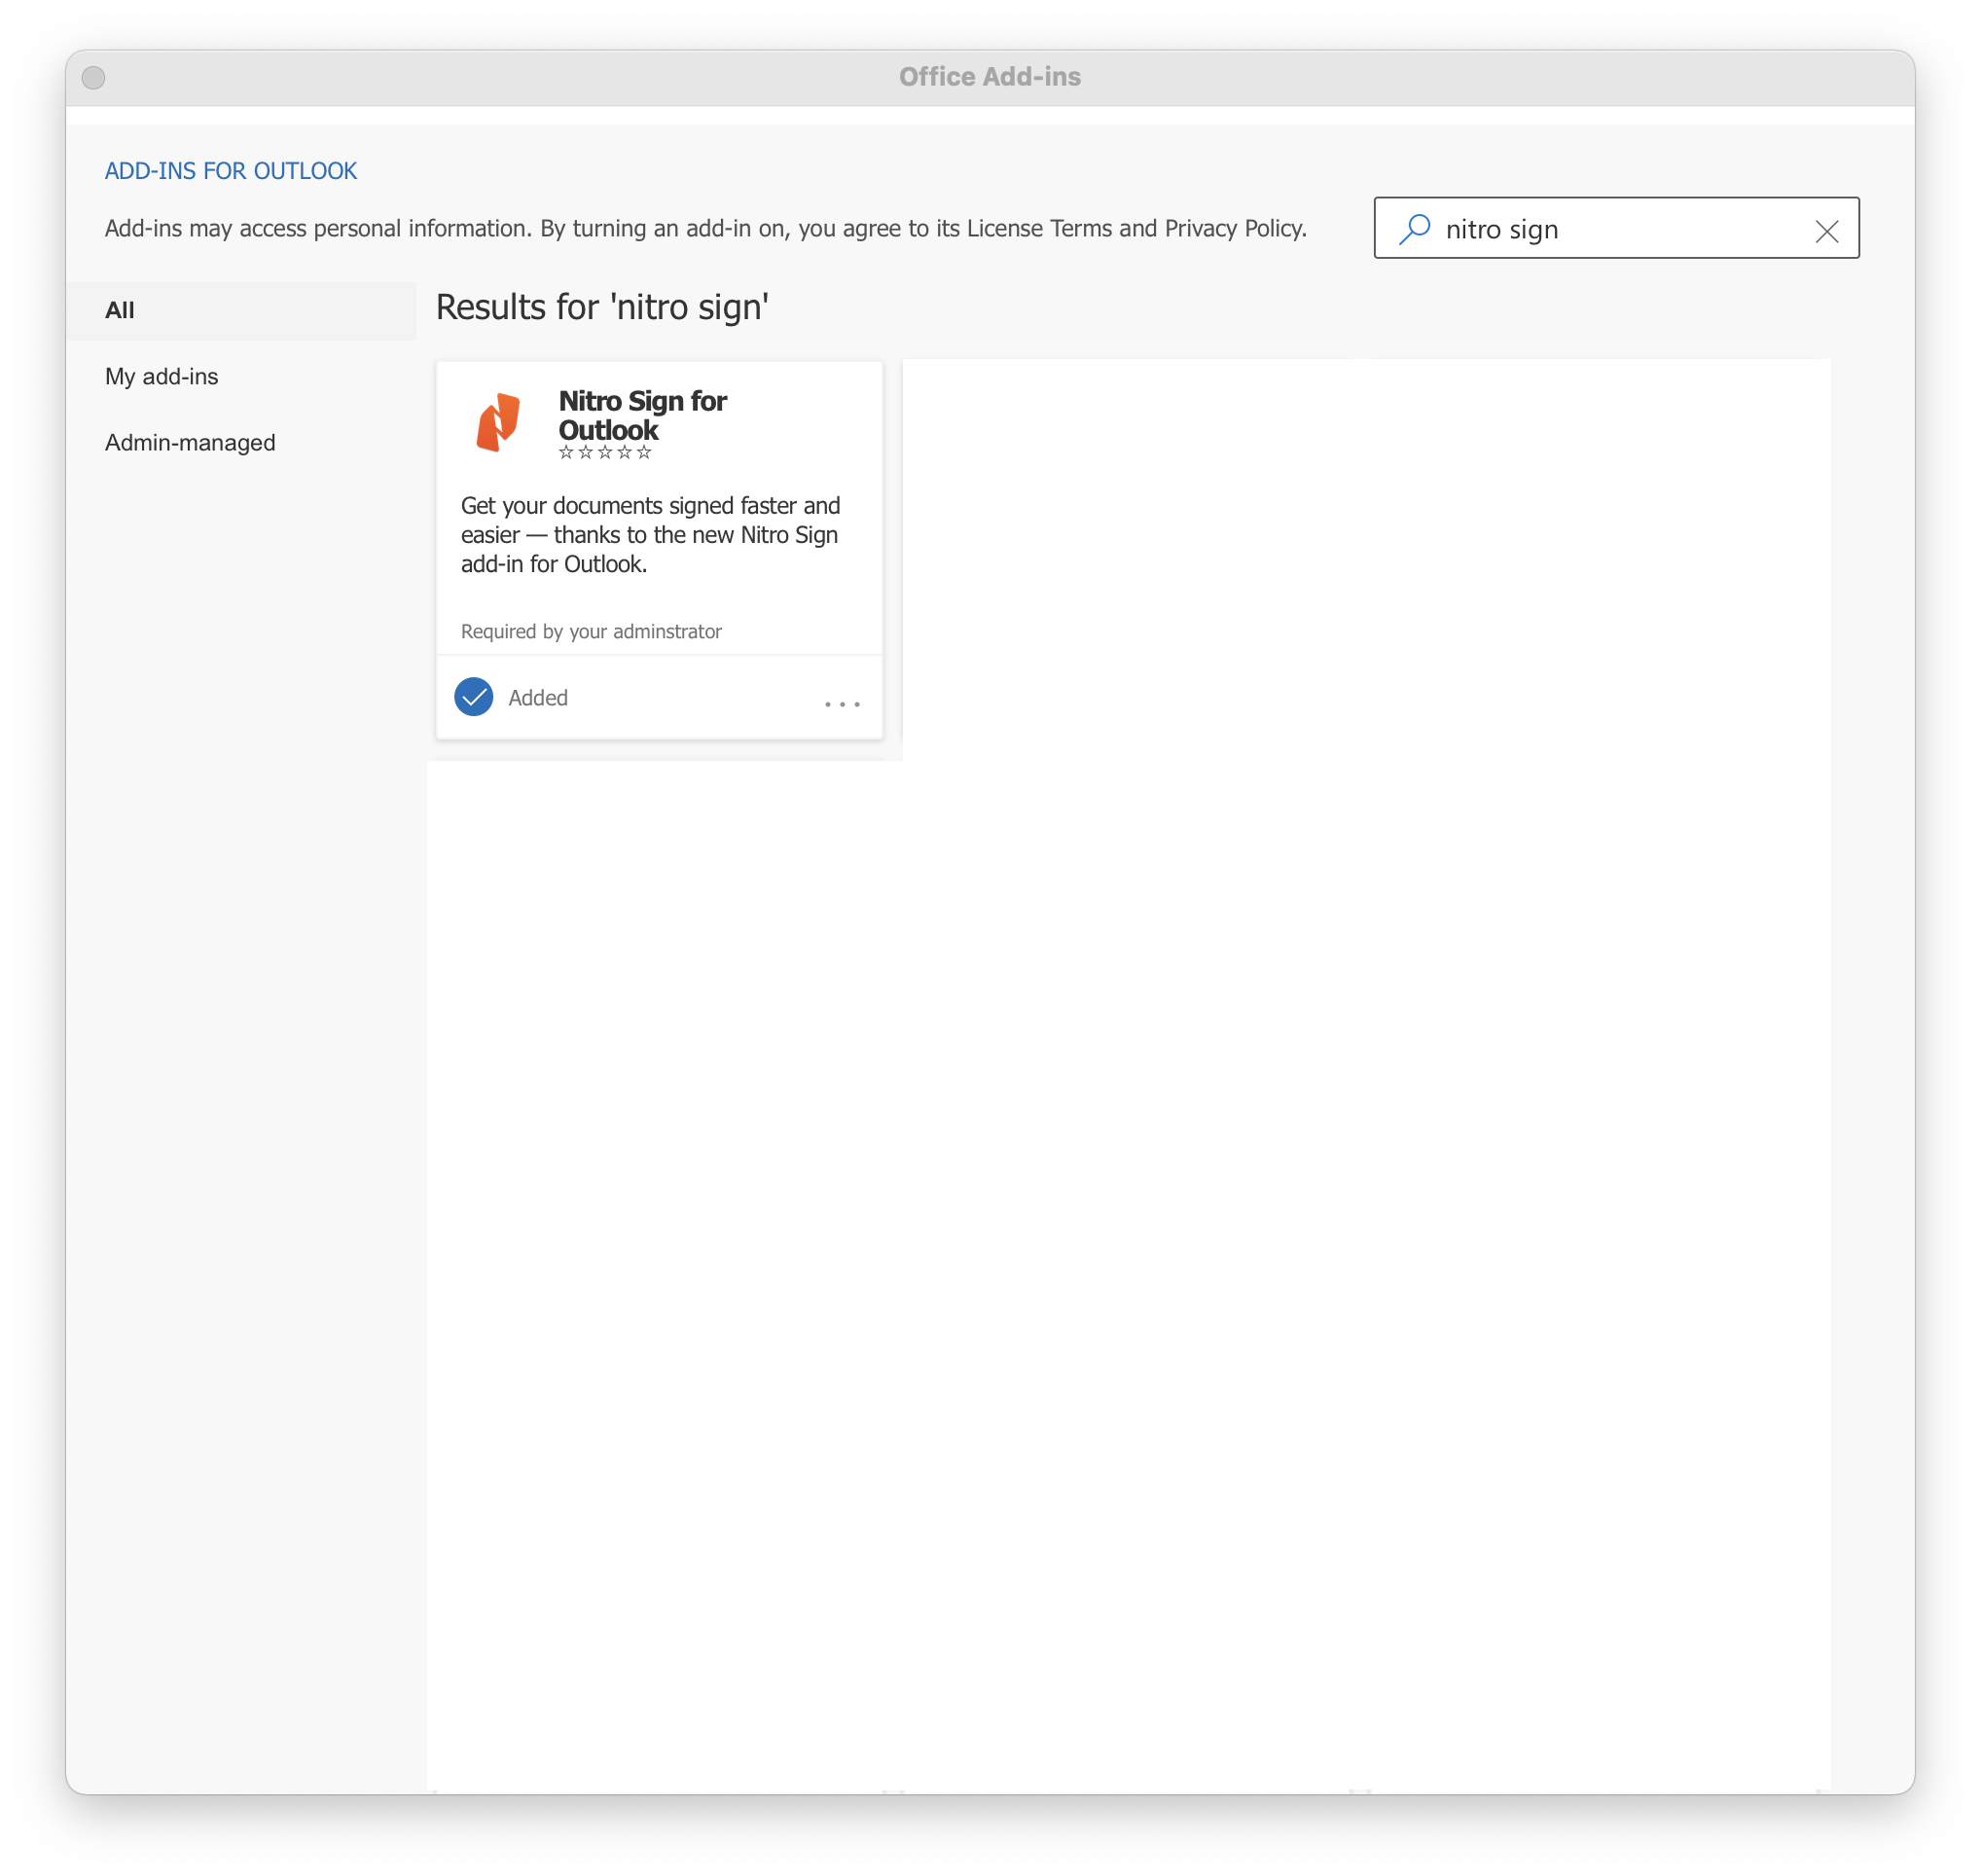
3. Click Add next to the Add-in. The Nitro Sign Add-in will be added to the Microsoft Outlook Home ribbon
How to send an attachment for signature from Microsoft Outlook
1. View the email with the attachment you need signed in Microsoft Outlook
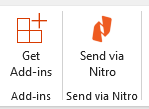
2. Select Send via Nitro from the top ribbon. (The Add-in must first be enabled to use it) 
3. The Nitro Sign panel will open on the right side, where you can click Log In 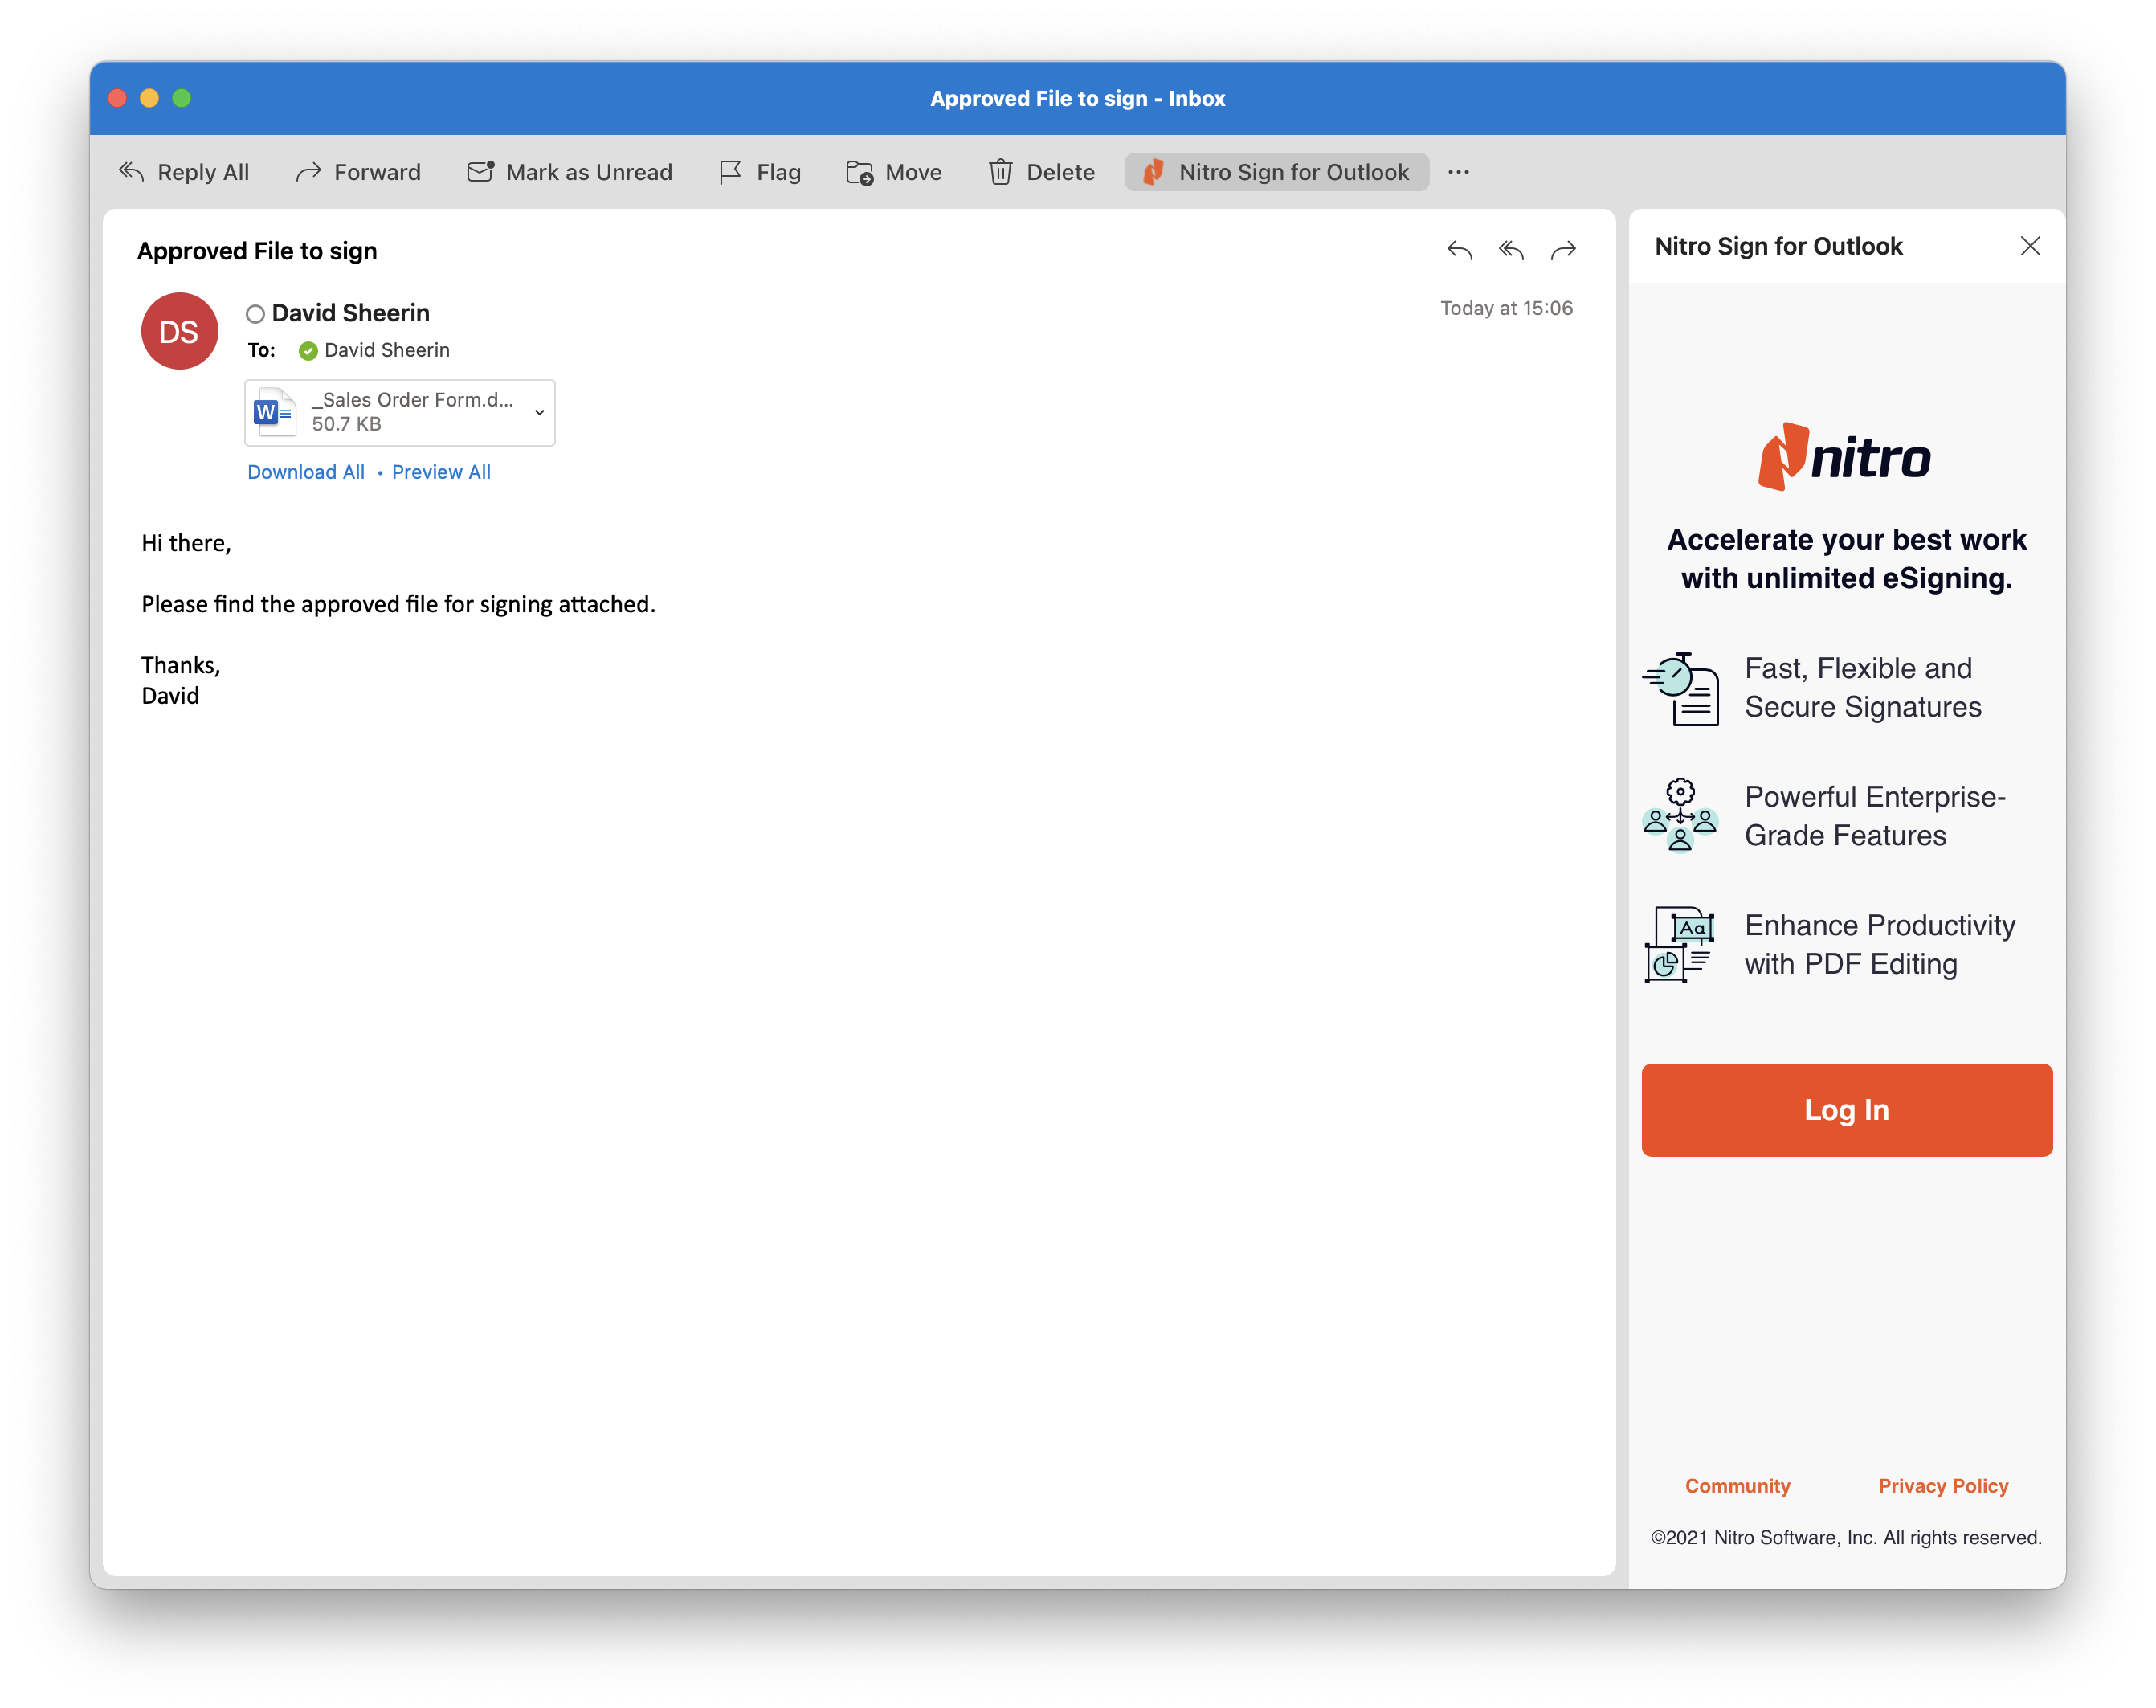
4. In the sign in dialog, enter your email and click Continue; then enter your password and click Continue once more 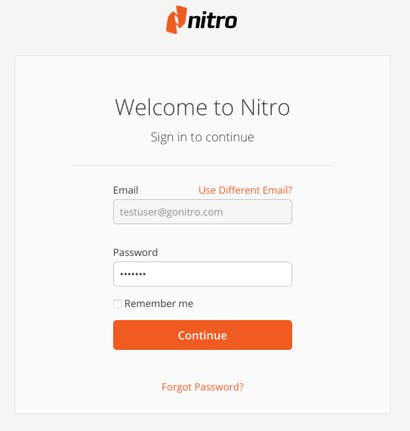
5. Your document will be uploaded to Nitro Sign. To view and prepare the document for signature, click Open Document in the right panel once the document has been uploaded 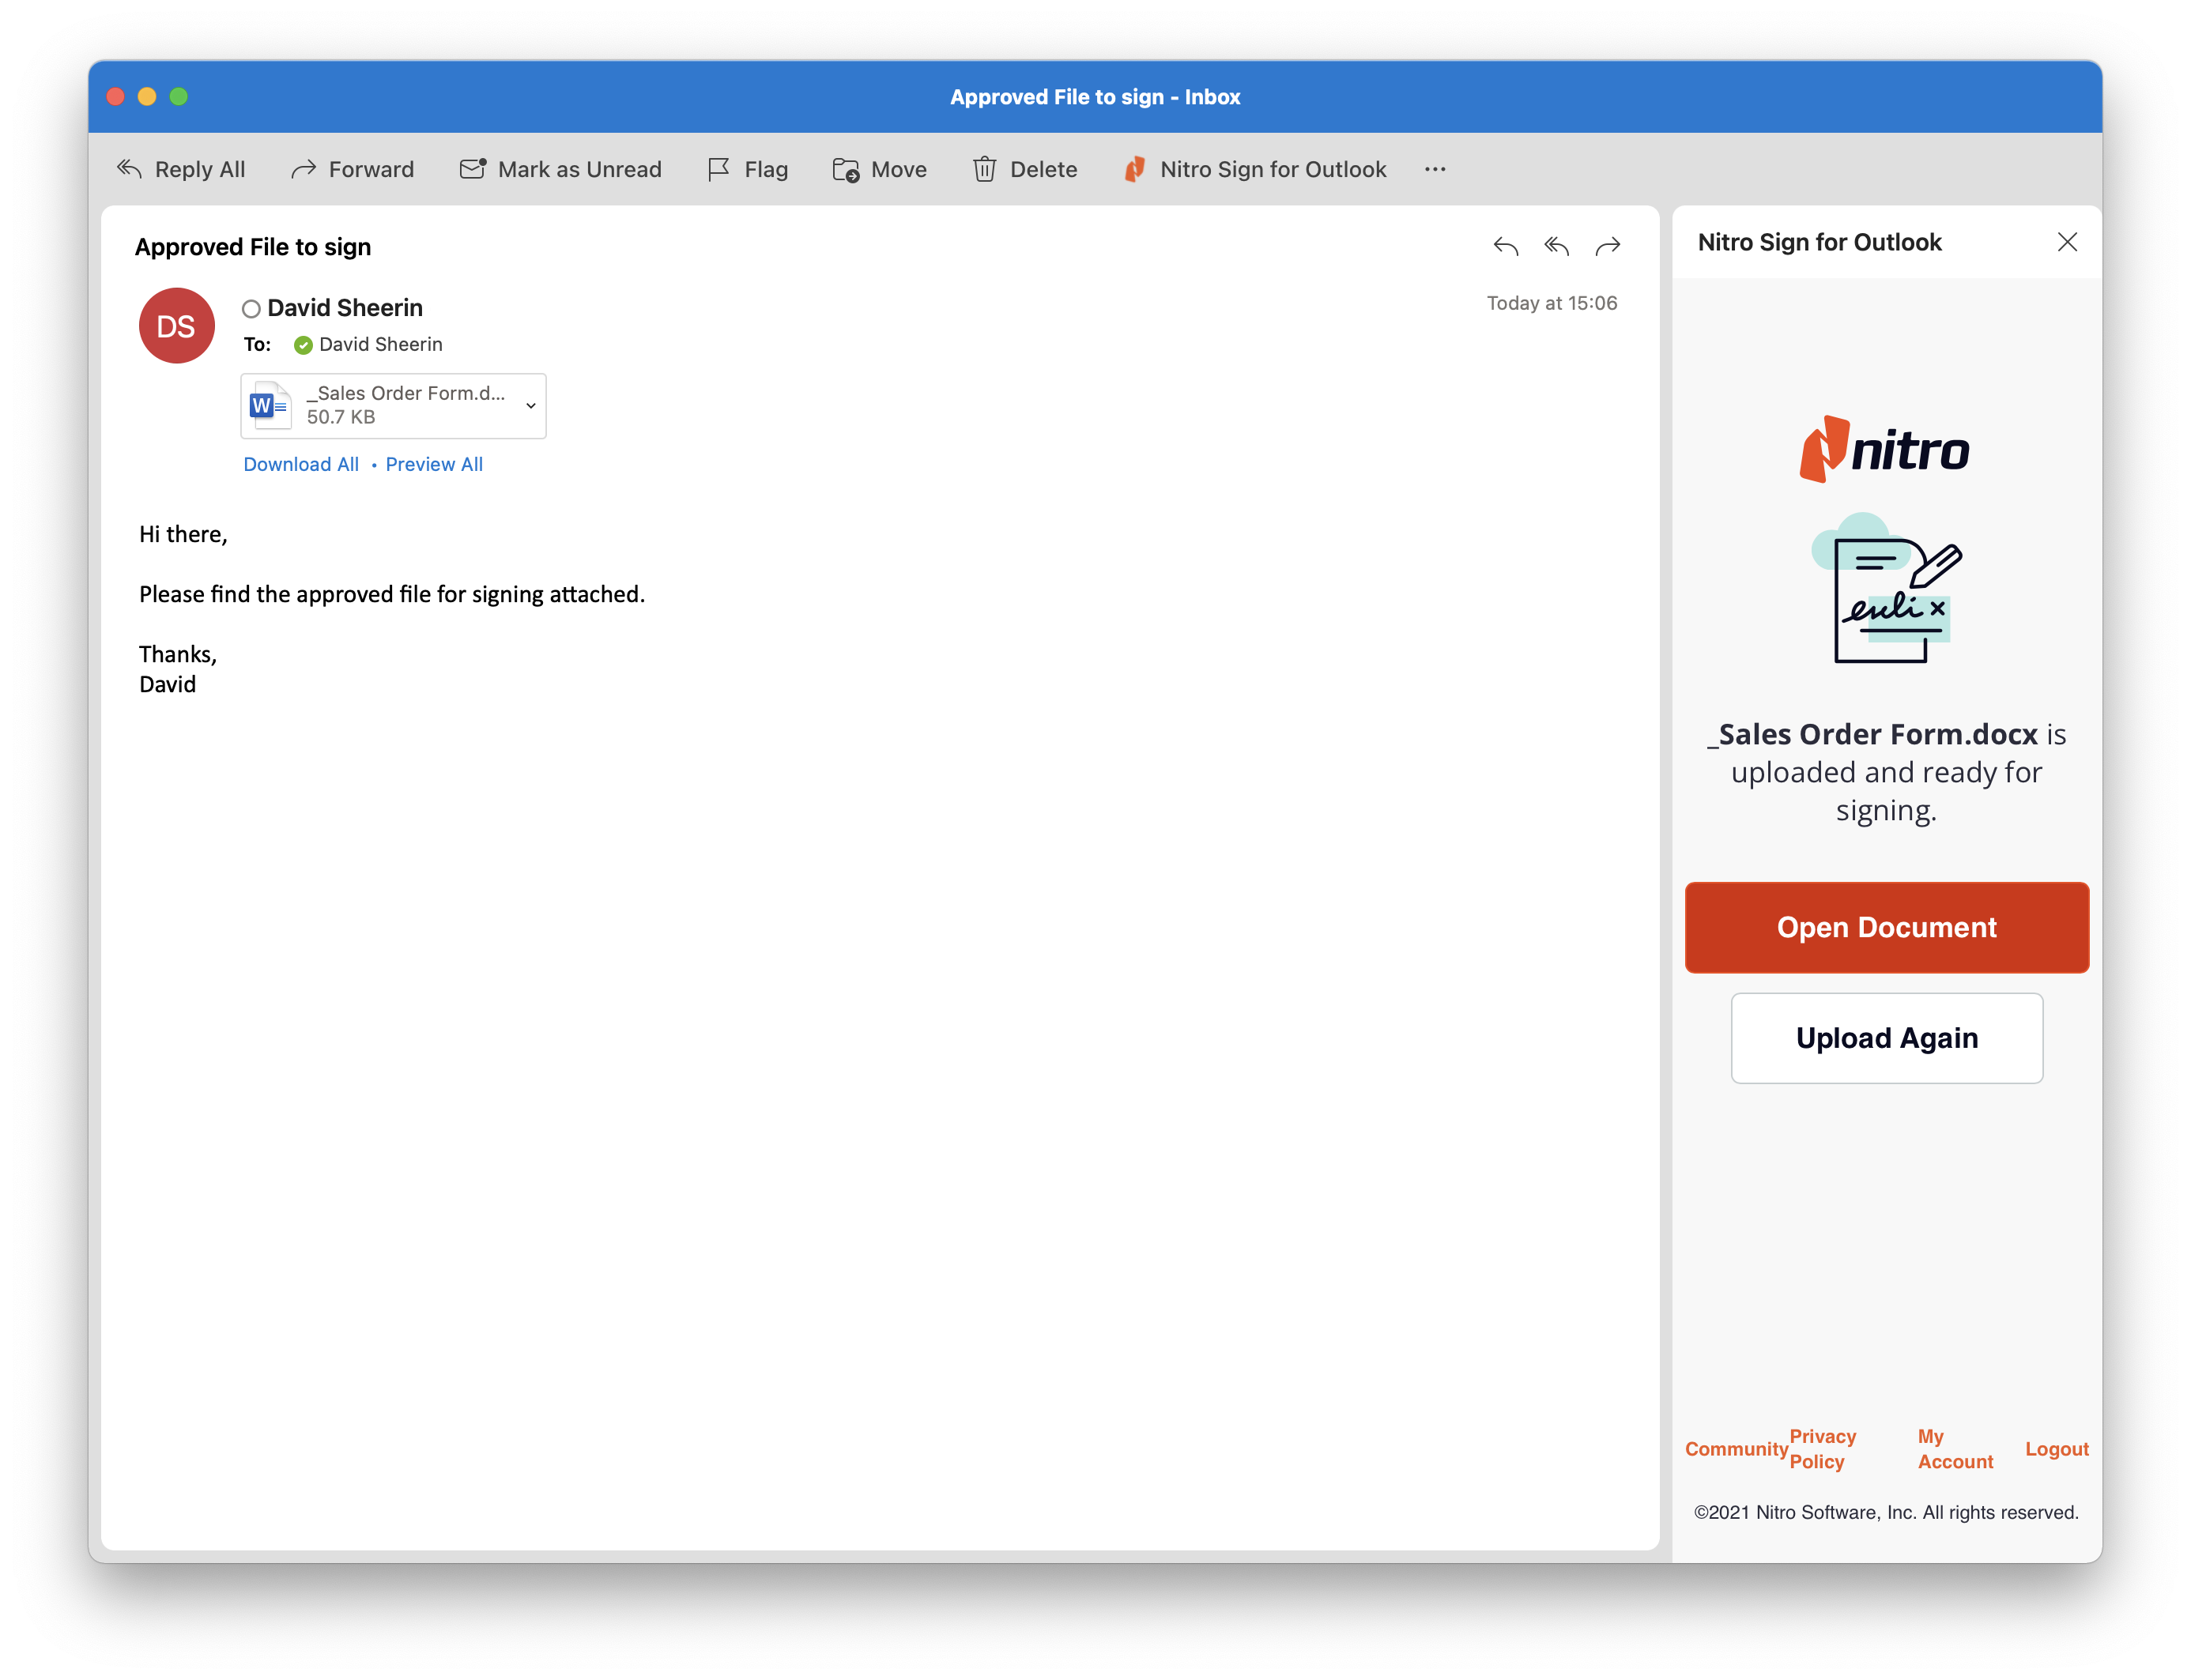
6. The document will open in Nitro Sign, and you can now continue on to create and send an eSignature request, or save the document as a draft
Note: Existing third-party sign integrations create single-document workflows. Nitro Sign shows all workflows that users create with these integrations in the Single documents tab of the applicable Nitro Sign section.