You can now upload and send documents for signature directly from Microsoft Word by enabling the Nitro Sign Add-in.
How to enable the Nitro Sign Add-in
How to send a document for signature from Microsoft Word
How to enable the Nitro Sign Add-in
- Launch Microsoft Word.
- Click File > Get Add-ins to open the "Office Add-ins" window to find and install add-ins. Alternatively, you can also access the "Office Add-ins" from the ribbon via Home > Add-ins > More Add-ins.
- In the Office Add-ins window, use the Search function to find the Nitro Sign add-in.
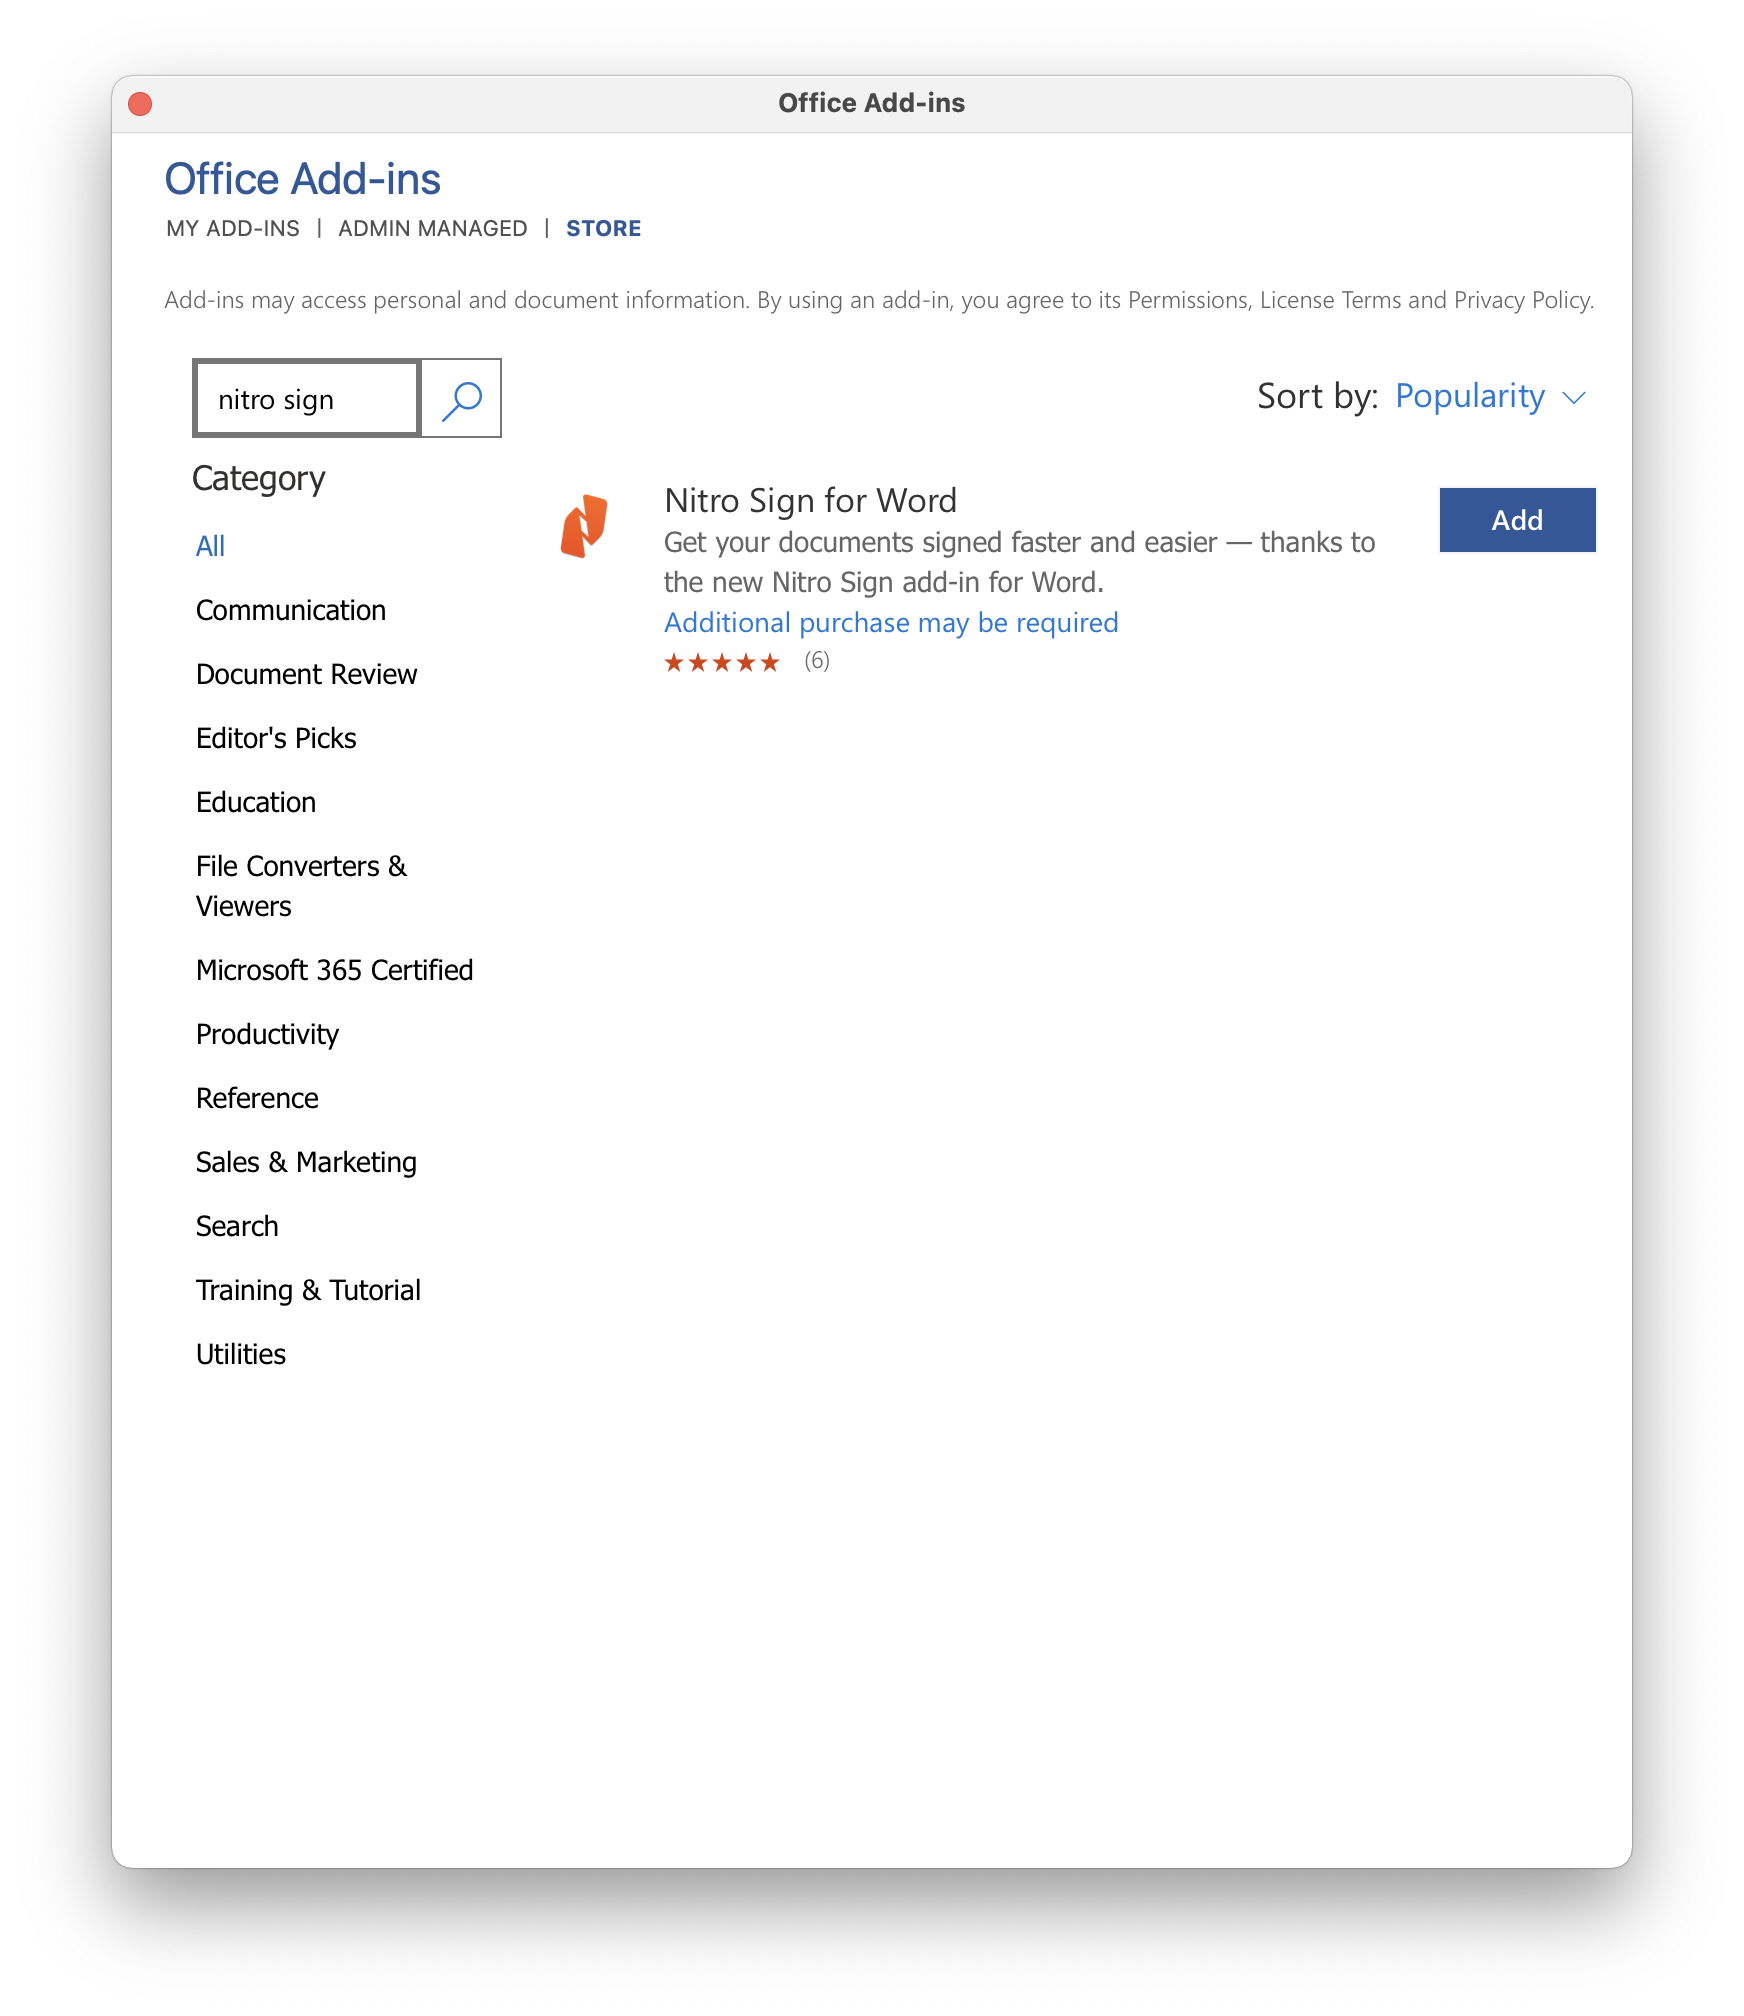
- Locate the Nitro Sign add-in. Select Add when you are ready to install and click "Continue" to accept the terms and conditions.
- The Nitro Sign add-in (Send via Nitro) will be added to the Microsoft Word Home ribbon.
How to send a document for signature from Microsoft Word
- Open the document you need signed in Microsoft Word
- Make any necessary edits to the document.
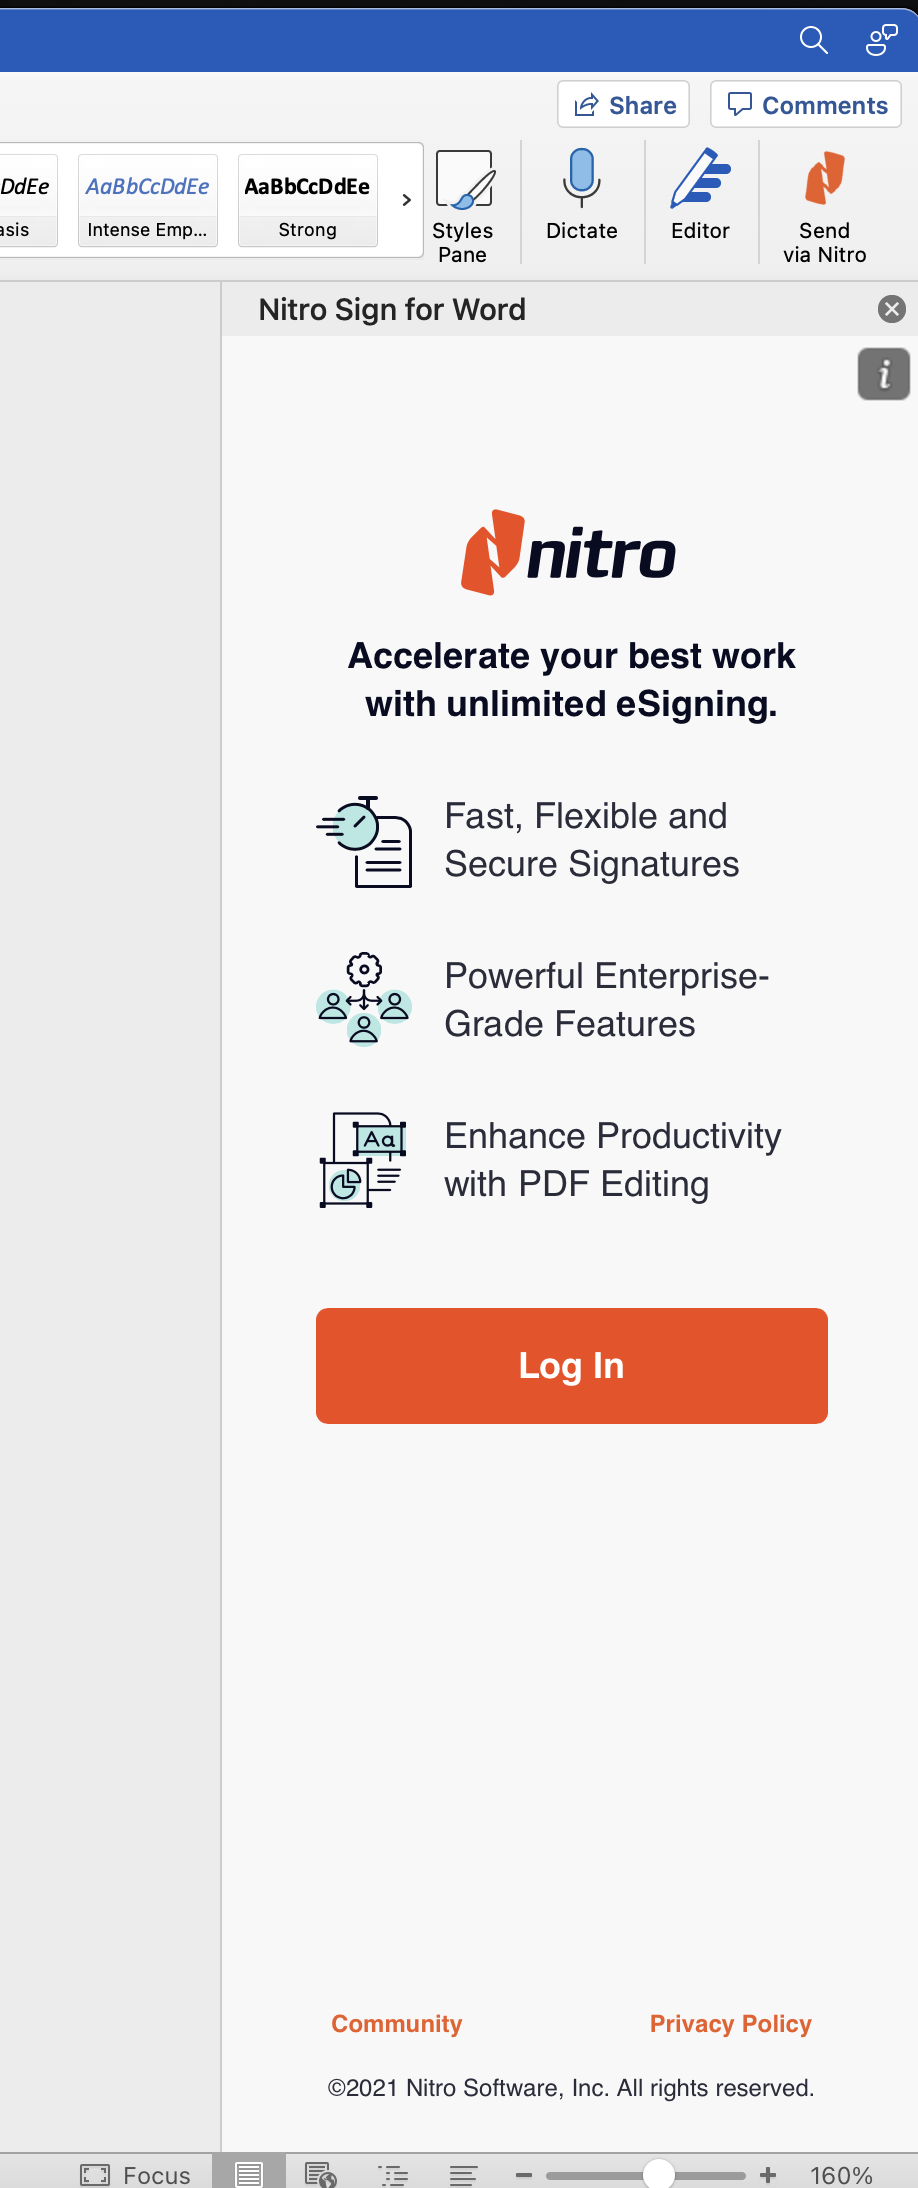
- Ensure the Add-in is enabled, then select Send via Nitro from the Home ribbon.

- The Nitro Sign panel will open in the right pane. Click Log In to sign in with your credentials.
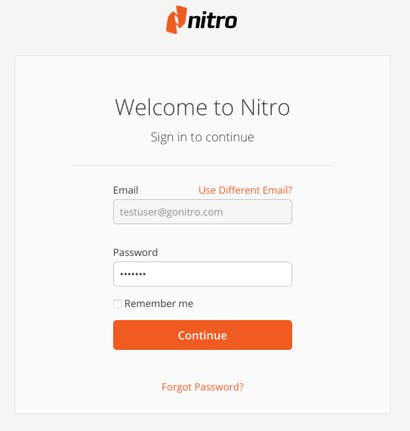
- Enter your credentials in the Email and Password fields and click Continue.
- Your document will be uploaded to Nitro Sign. Once the upload is complete, click Open Document in the right panel to view and prepare it for signature.
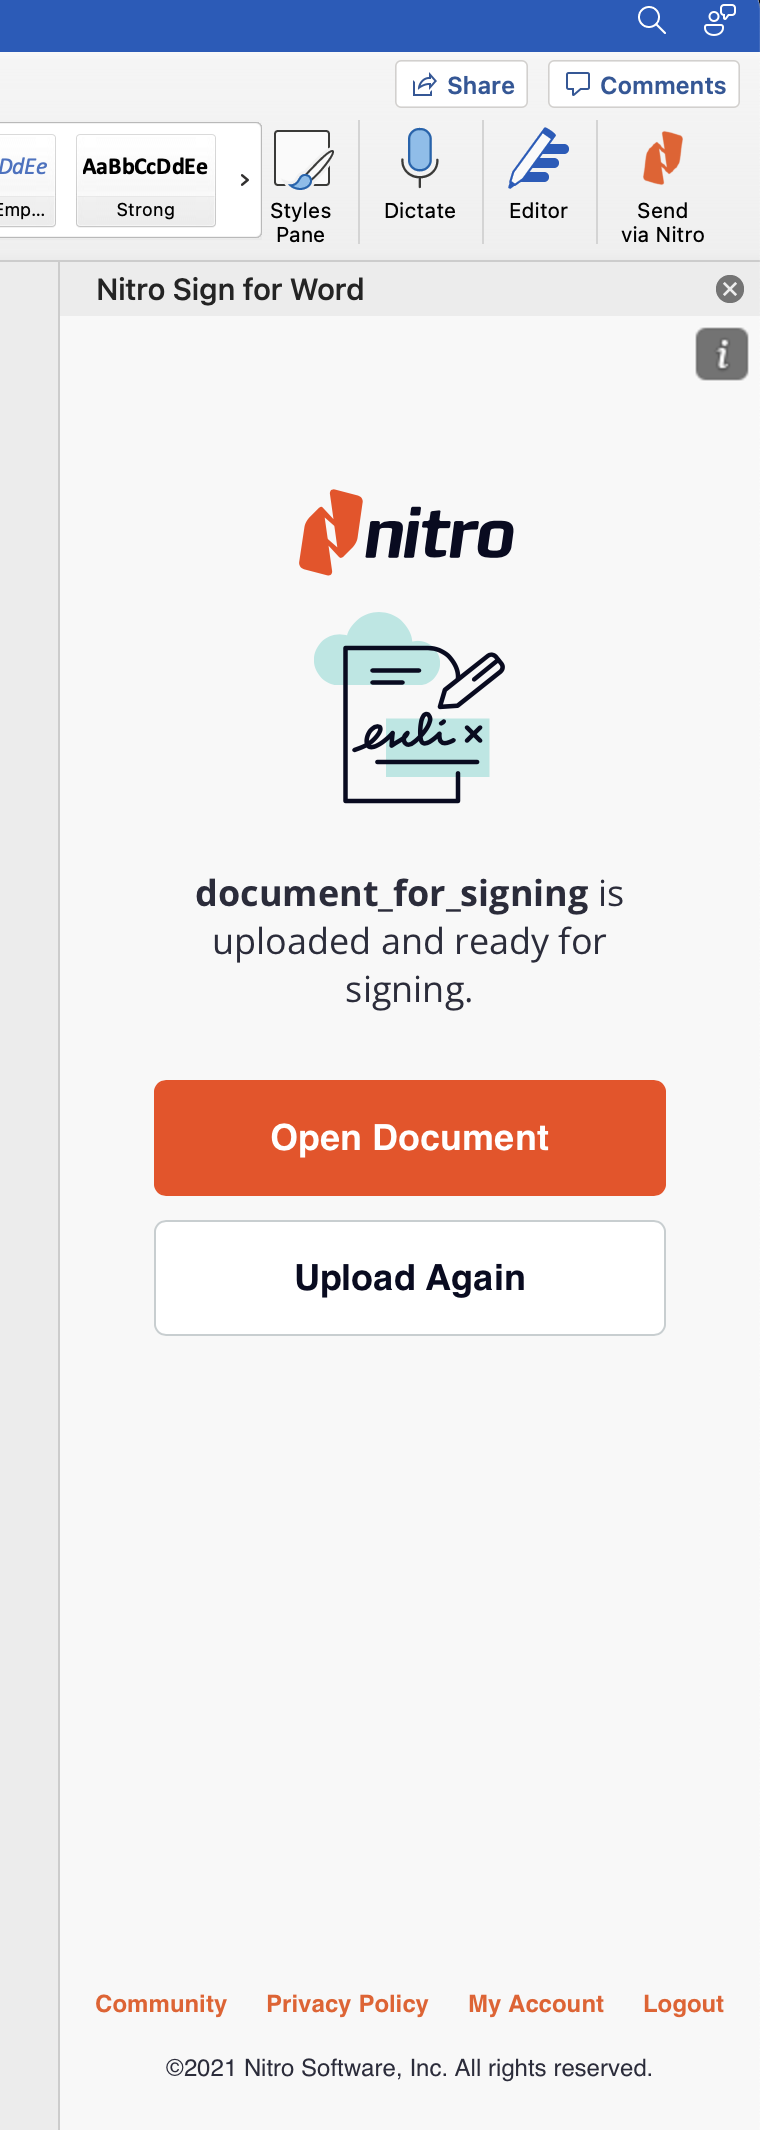
- Once the document opens in Nitro Sign, you can create and send an eSignature request, or save the document as a draft.
Note: Existing third-party sign integrations create single-document workflows. Nitro Sign shows all workflows that users create with these integrations in the Single documents tab of the applicable Nitro Sign section.