Use Nitro Sign with SharePoint
Supported SharePoint VersionsThe Nitro Sign add-in for SharePoint is compatible with the following versions:
- SharePoint 2016+
- SharePoint Online
How to enable the Nitro Sign for SharePoint Online app1. Go to the SharePoint site where you want to install the Nitro Sign app
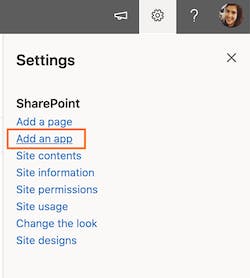
2. Navigate to Settings on the top right, and select ‘Add an app’
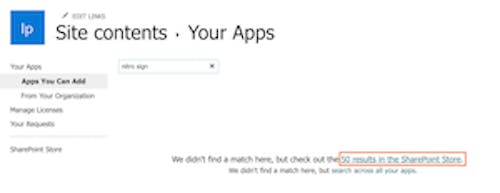
3. Use the Search bar to search for ‘Nitro Sign’, and then click the text that tells you to check out the results in the SharePoint Store
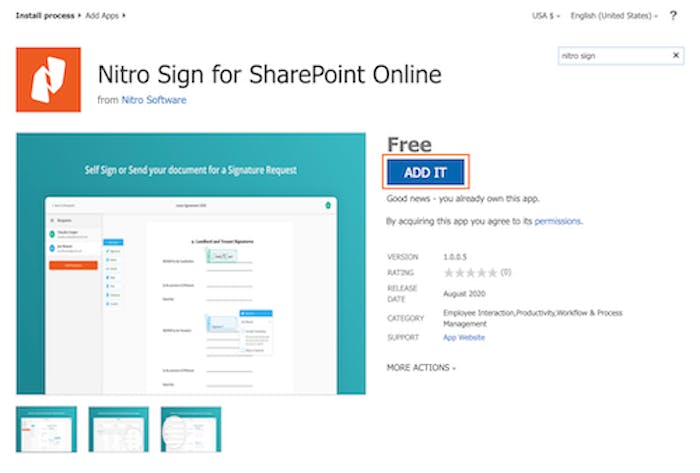
4. Select the Nitro Sign app in the SharePoint Store and click ‘Add It’ to install the app
Once installed, the Nitro Sign app will be visible in the SharePoint ribbon.

How to send a document for signature from SharePoint1. Select the document you want to send for signature in SharePoint

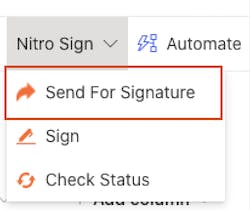
2. Once your document is selected, click the Nitro Sign button on the SharePoint ribbon and select ‘Send For Signature’
3. Nitro Sign will open within your window and you will be prompted to log in to your Nitro Sign account, or you may be logged in automatically if you are using SSO. Your document will be uploaded to Nitro Sign
4. Add the desired recipient/s, fields and authentication to your document and then click Send for Signature to send your signature request
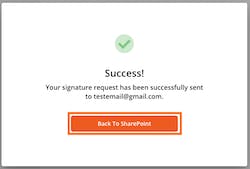
5. Once you have sent your signature request, follow the prompt to return to SharePoint
6. When your signature request is complete, a folder titled ‘Nitro Sign Documents’ will be automatically created in the SharePoint location where your original document is stored. The final signed version of the document will be saved back to this folder. Any future signature requests sent from this file location will also be added to this folder.

How to sign a document in SharePoint1. Select the document you want to sign in SharePoint 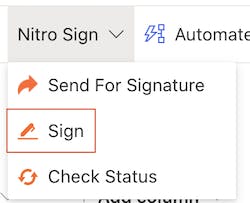
2. Once your document is selected, click the Nitro Sign button on the SharePoint ribbon and select ‘Sign’
3. Add the desired fields and then click Sign to sign your document
4. When you have signed your document, a folder titled ‘Nitro Sign Documents’ will be automatically created in the SharePoint location where your original document is stored. The final signed version of the document will be saved back to this folder. 
How to check the status of signature requests sent from SharePoint1. You can view the status of all signature requests that have been sent from your SharePoint site, by any user, directly from SharePoint. Click the Nitro Sign button on the SharePoint ribbon and select 'Check Status' 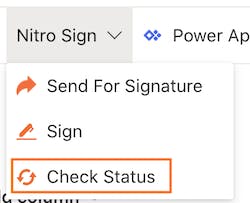
Note: Existing third-party sign integrations create single-document workflows. Nitro Sign shows all workflows that users create with these integrations in the Single documents tab of the applicable Nitro Sign section.