Nitro Sign supports Accounts, Contacts, Leads, and Opportunities out-of-the-box. Follow these instructions to add Nitro Sign to additional objects (custom).
Each of the steps is outlined in detail below.
After successful completion of the above steps, Nitro Sign for Salesforce will be accessible via custom objects. For additional assistance please reach out to our customer support team.
Each of the steps is outlined in detail below.
1. Create Visualforce page for the Object
Go to the developer console- File
- New
- Visualforce page
- Suggestion to enter the title of the object as the name of the new apex page.
- Copy and replace all code with:
<apex:page sidebar="false" standardController="Opportunity" ><style>
html body.sfdcBody {
background: #E0E0E0 !important;
} </style>
<apex:canvasApp id="nitroApp" developerName="Nitro_Sign" maxHeight="infinite" maxWidth="infinite" />
<script type="text/javascript" src="/canvas/sdk/js/51.0/controller.js"></script>
<script type="text/javascript">
var target = {canvas: "nitroApp"};
function resize() {
Sfdc.canvas.controller.resize( {width: '100%'}, target);
}
window.addEventListener('resize', (event )=>
{ resize();
});
window.addEventListener('load', (event) => {
resize();
});
// listen to event to navigate back to object Id
Sfdc.canvas.controller.subscribe({
name : 'NitroSign.navigateToObject',
onData : function (payload) {
window.top.location.href = '/' + payload.recordId;
}
});
// listen to ready event, so that we send the loadroute event just when needed
Sfdc.canvas.controller.subscribe({
name : 'NitroSign.appReady',
onData : function (payload) {
Sfdc.canvas.controller.publish({
name : 'NitroSign.loadRoute',
payload : {
route : 'esign',
w: {
innerHeight: window.innerHeight,
innerWidth: window.innerWidth
}
}
});
}
});
</script>
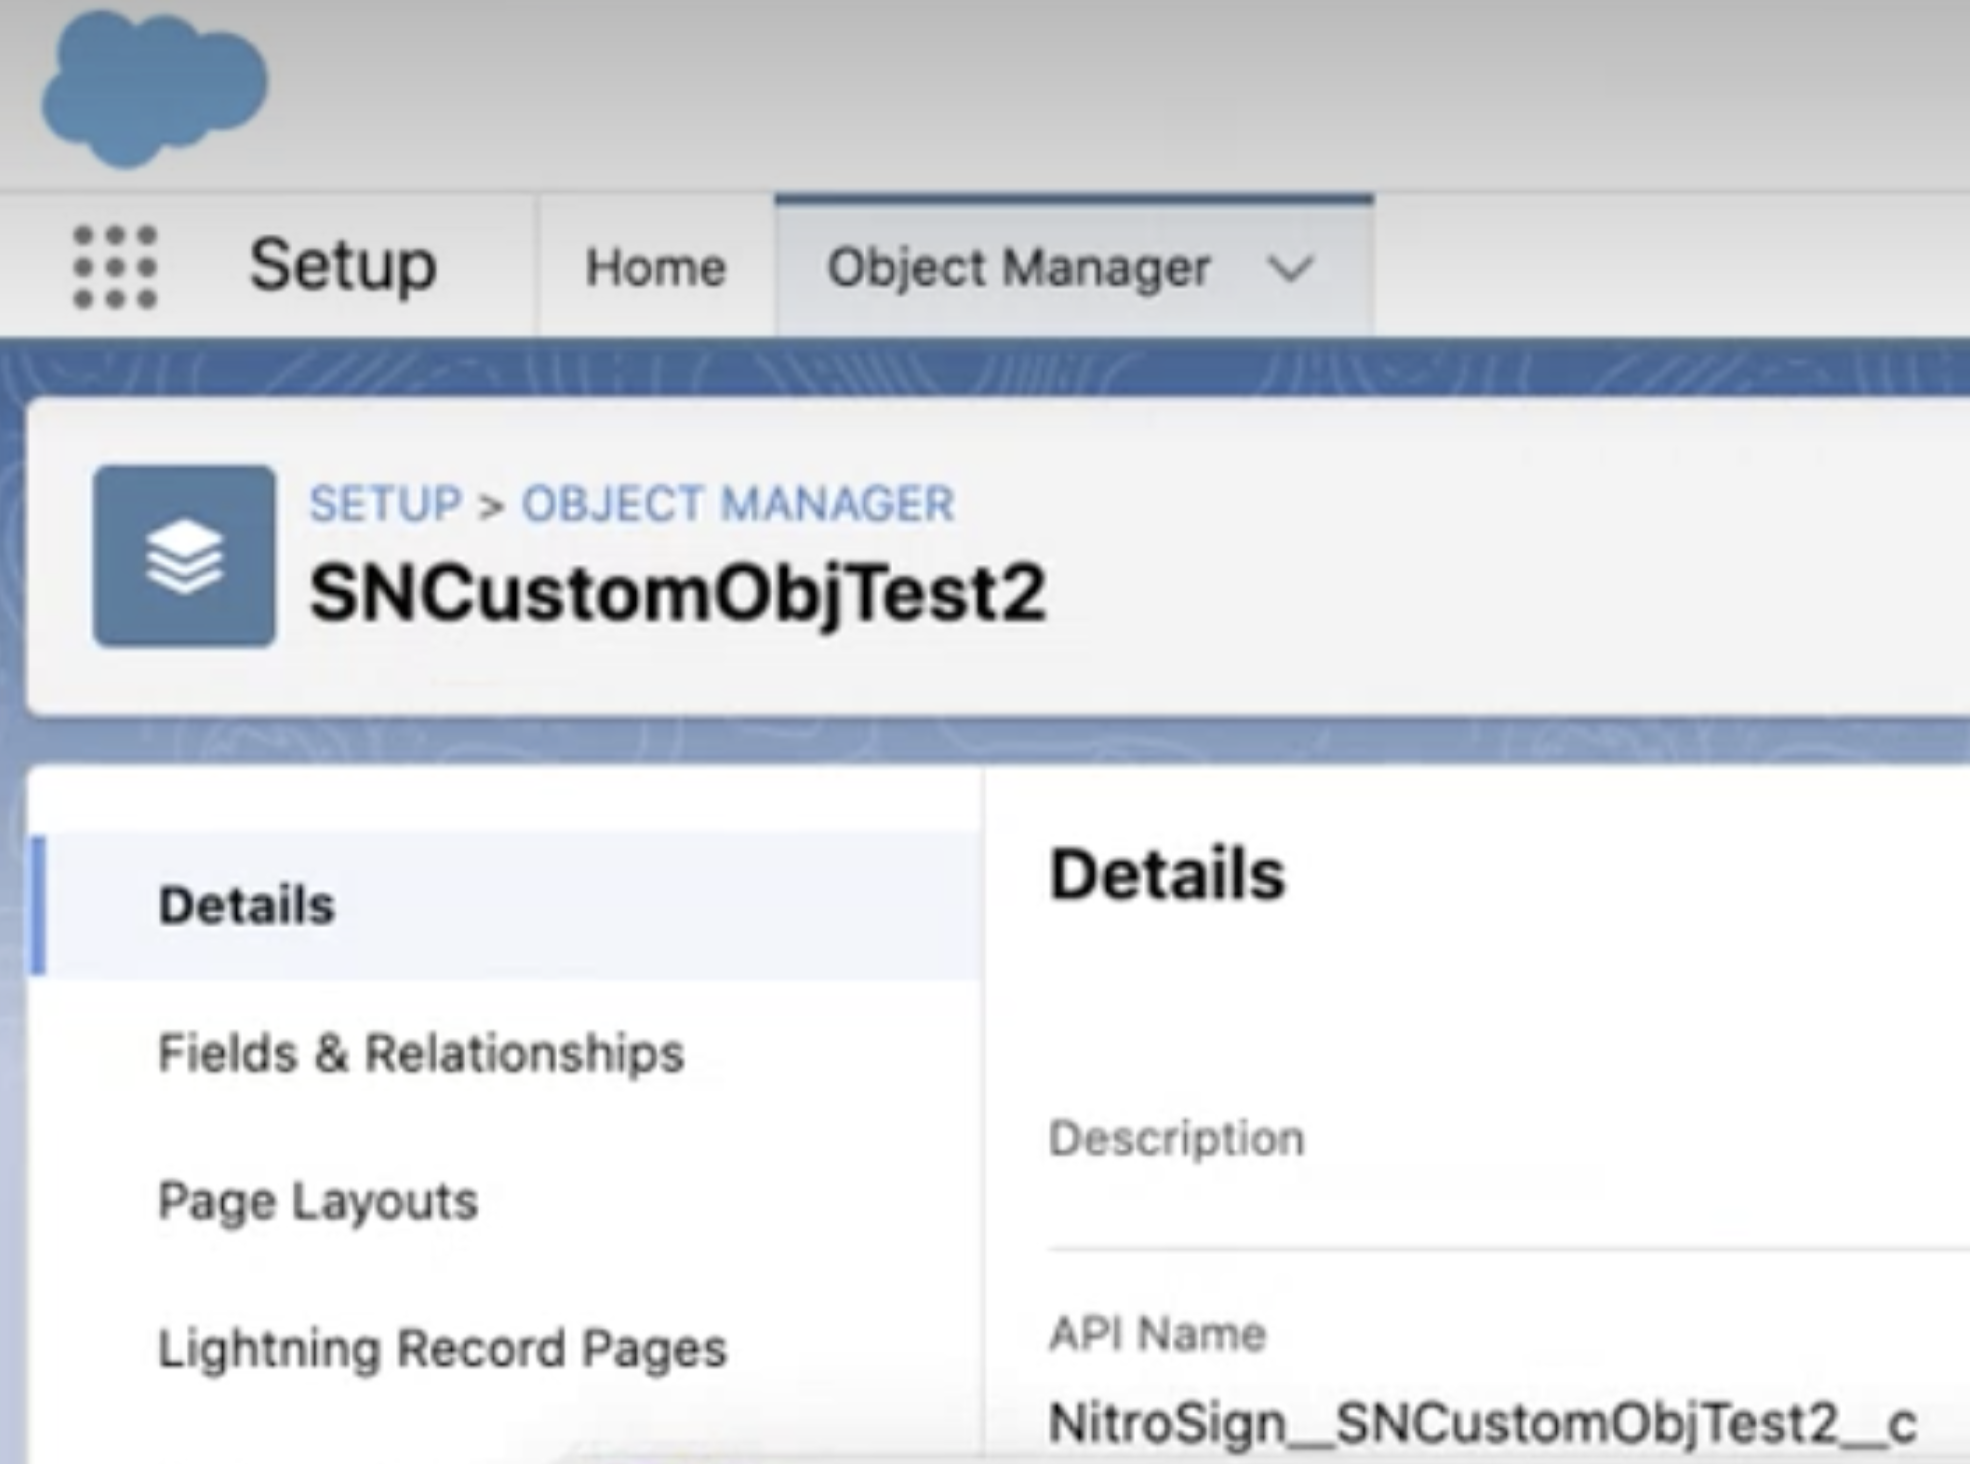
</apex:page> - In this code, replace “opportunity” with the object API name. See the below image for the location to find API name within object manager.
- File
- Save
- Close the developer console window.
2. Create the Nitro Sign Button
- Go to setup
- Object manager
- Buttons, Links, and Actions
- New Button or Link
- Label: Type Nitro Sign
- Name: will generate automatically
- Display type: Select Detail Page Button
- Behavior: Select Display in existing window without sidebar
- Content source: From the dropdown select Visualforce page
- From the Content dropdown select the name of the Visualforce page that was created in the earlier part of this guide.
- Save.
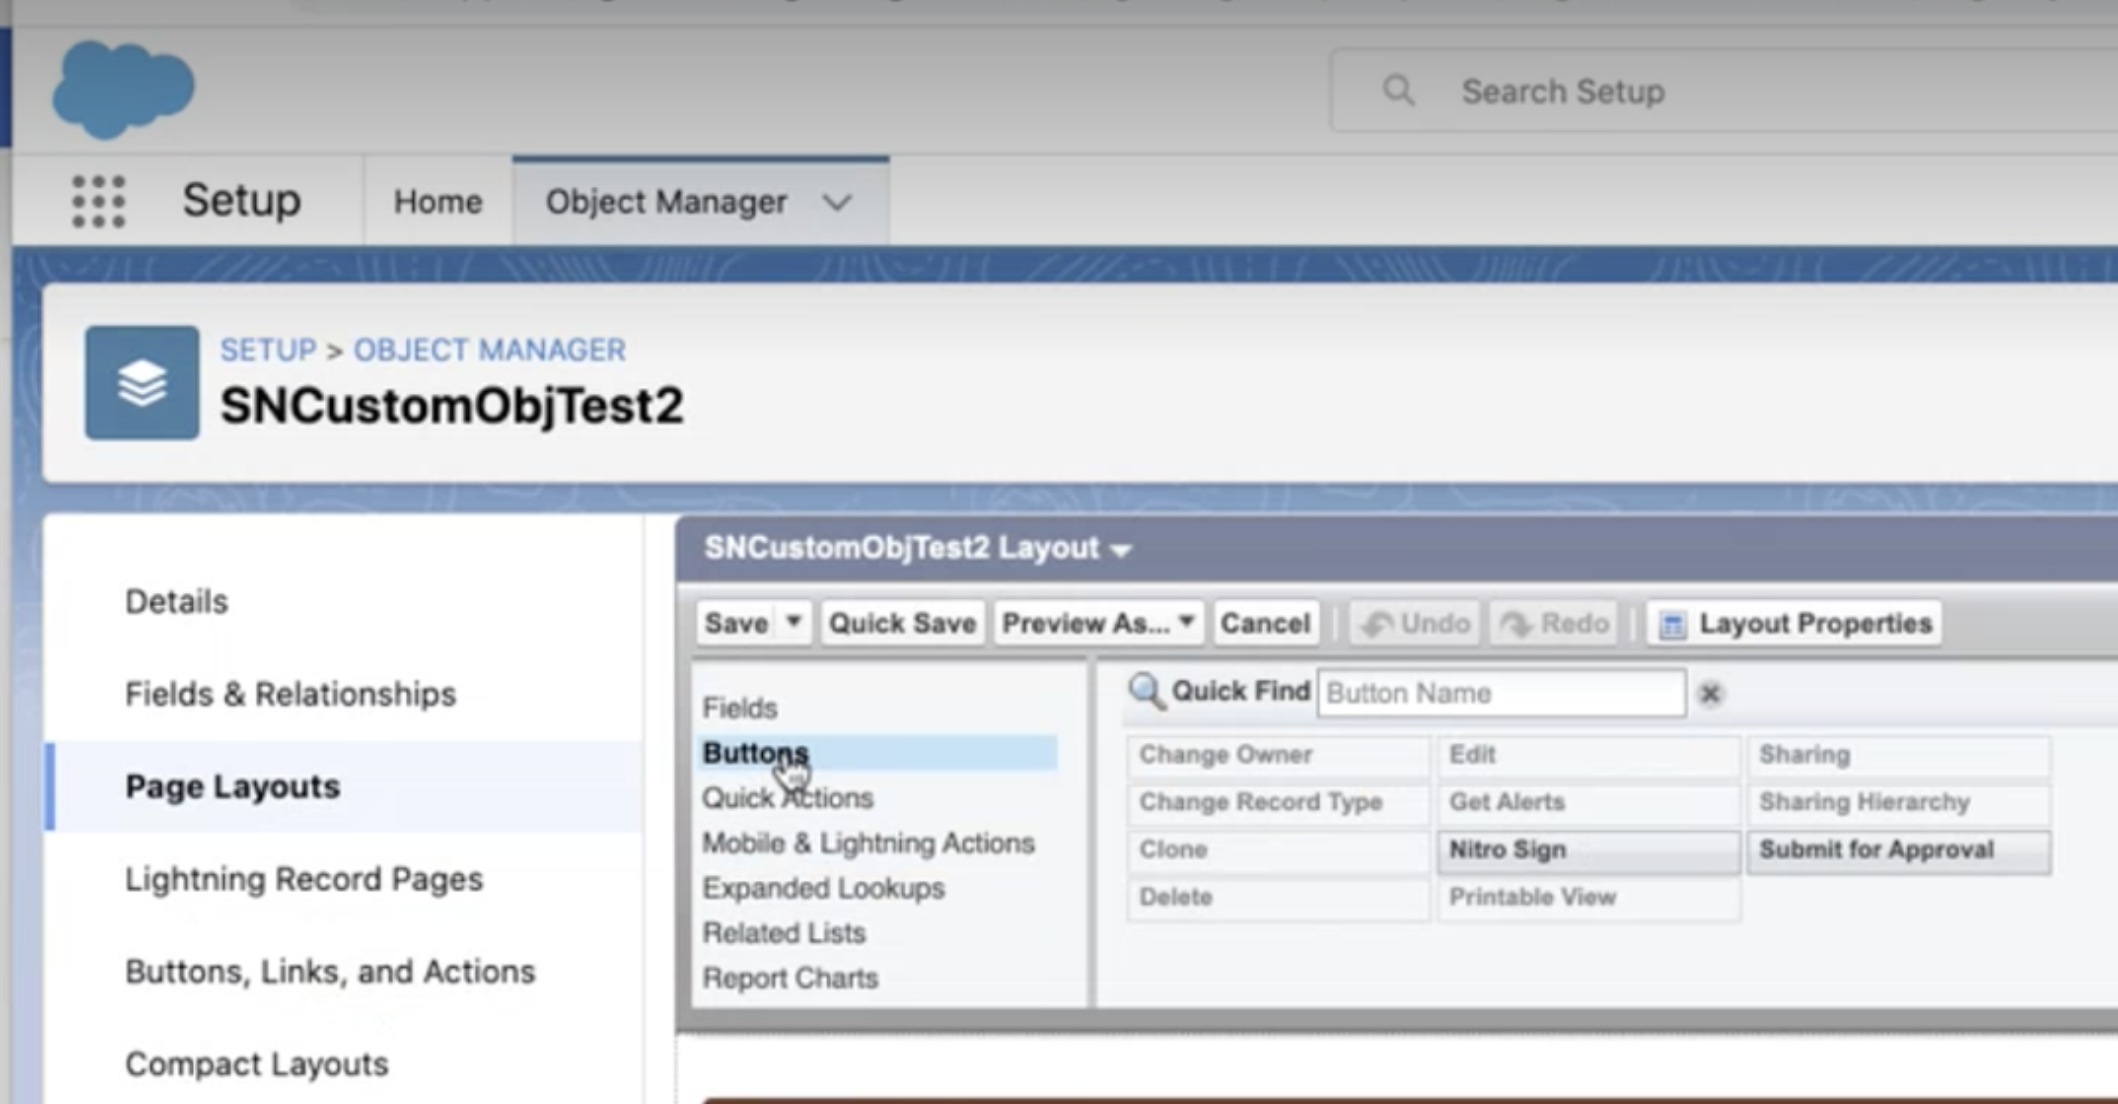
3. Add the Nitro Sign button to the custom object
- Go to setup
- Object manager
- Page Layouts
- Select the entry in this table by clicking the link in the page layout column
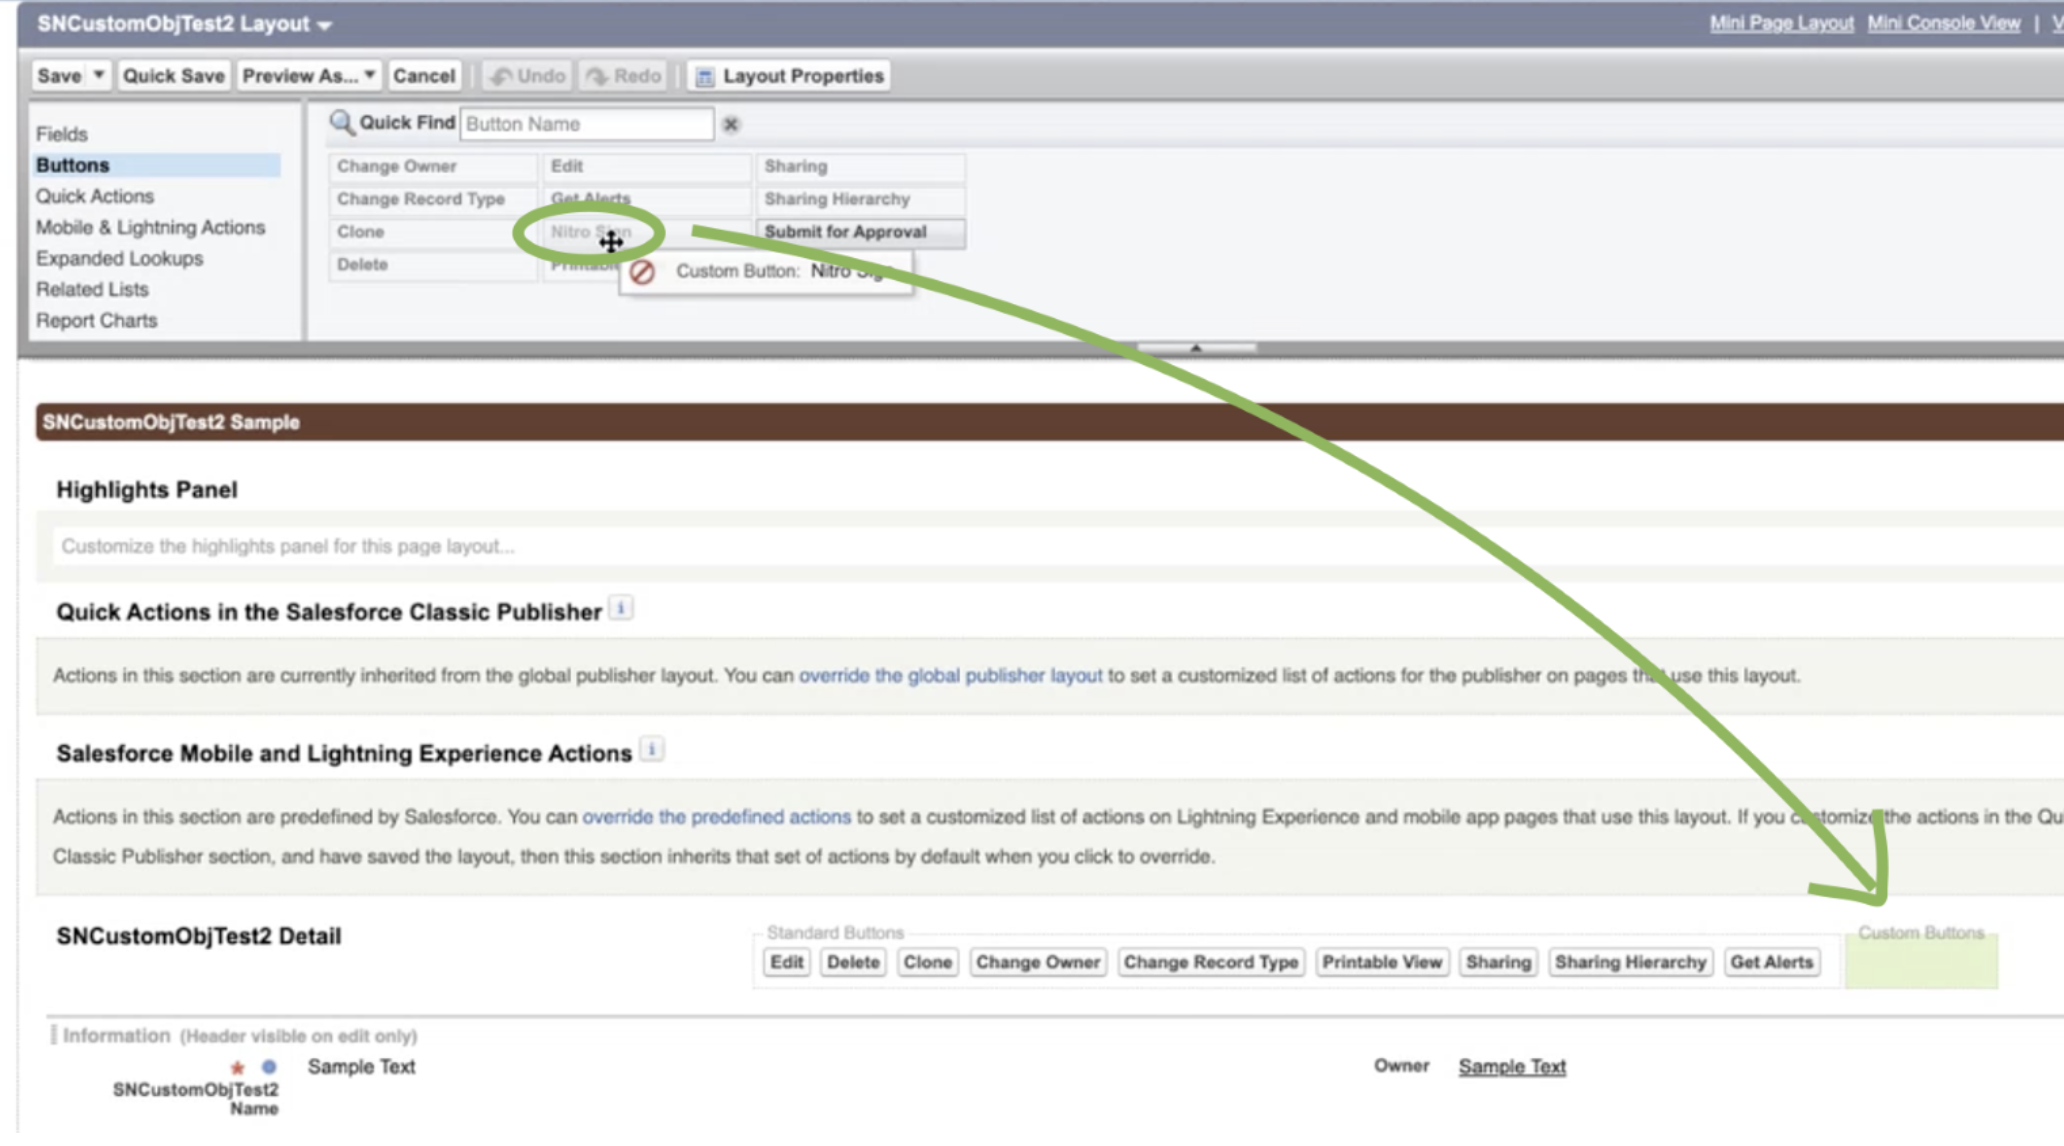
- Select Buttons
- For some installations, the buttons need to be dragged also in the ""Mobile & Lightning Actions"" in order to appear in the Lightning experience
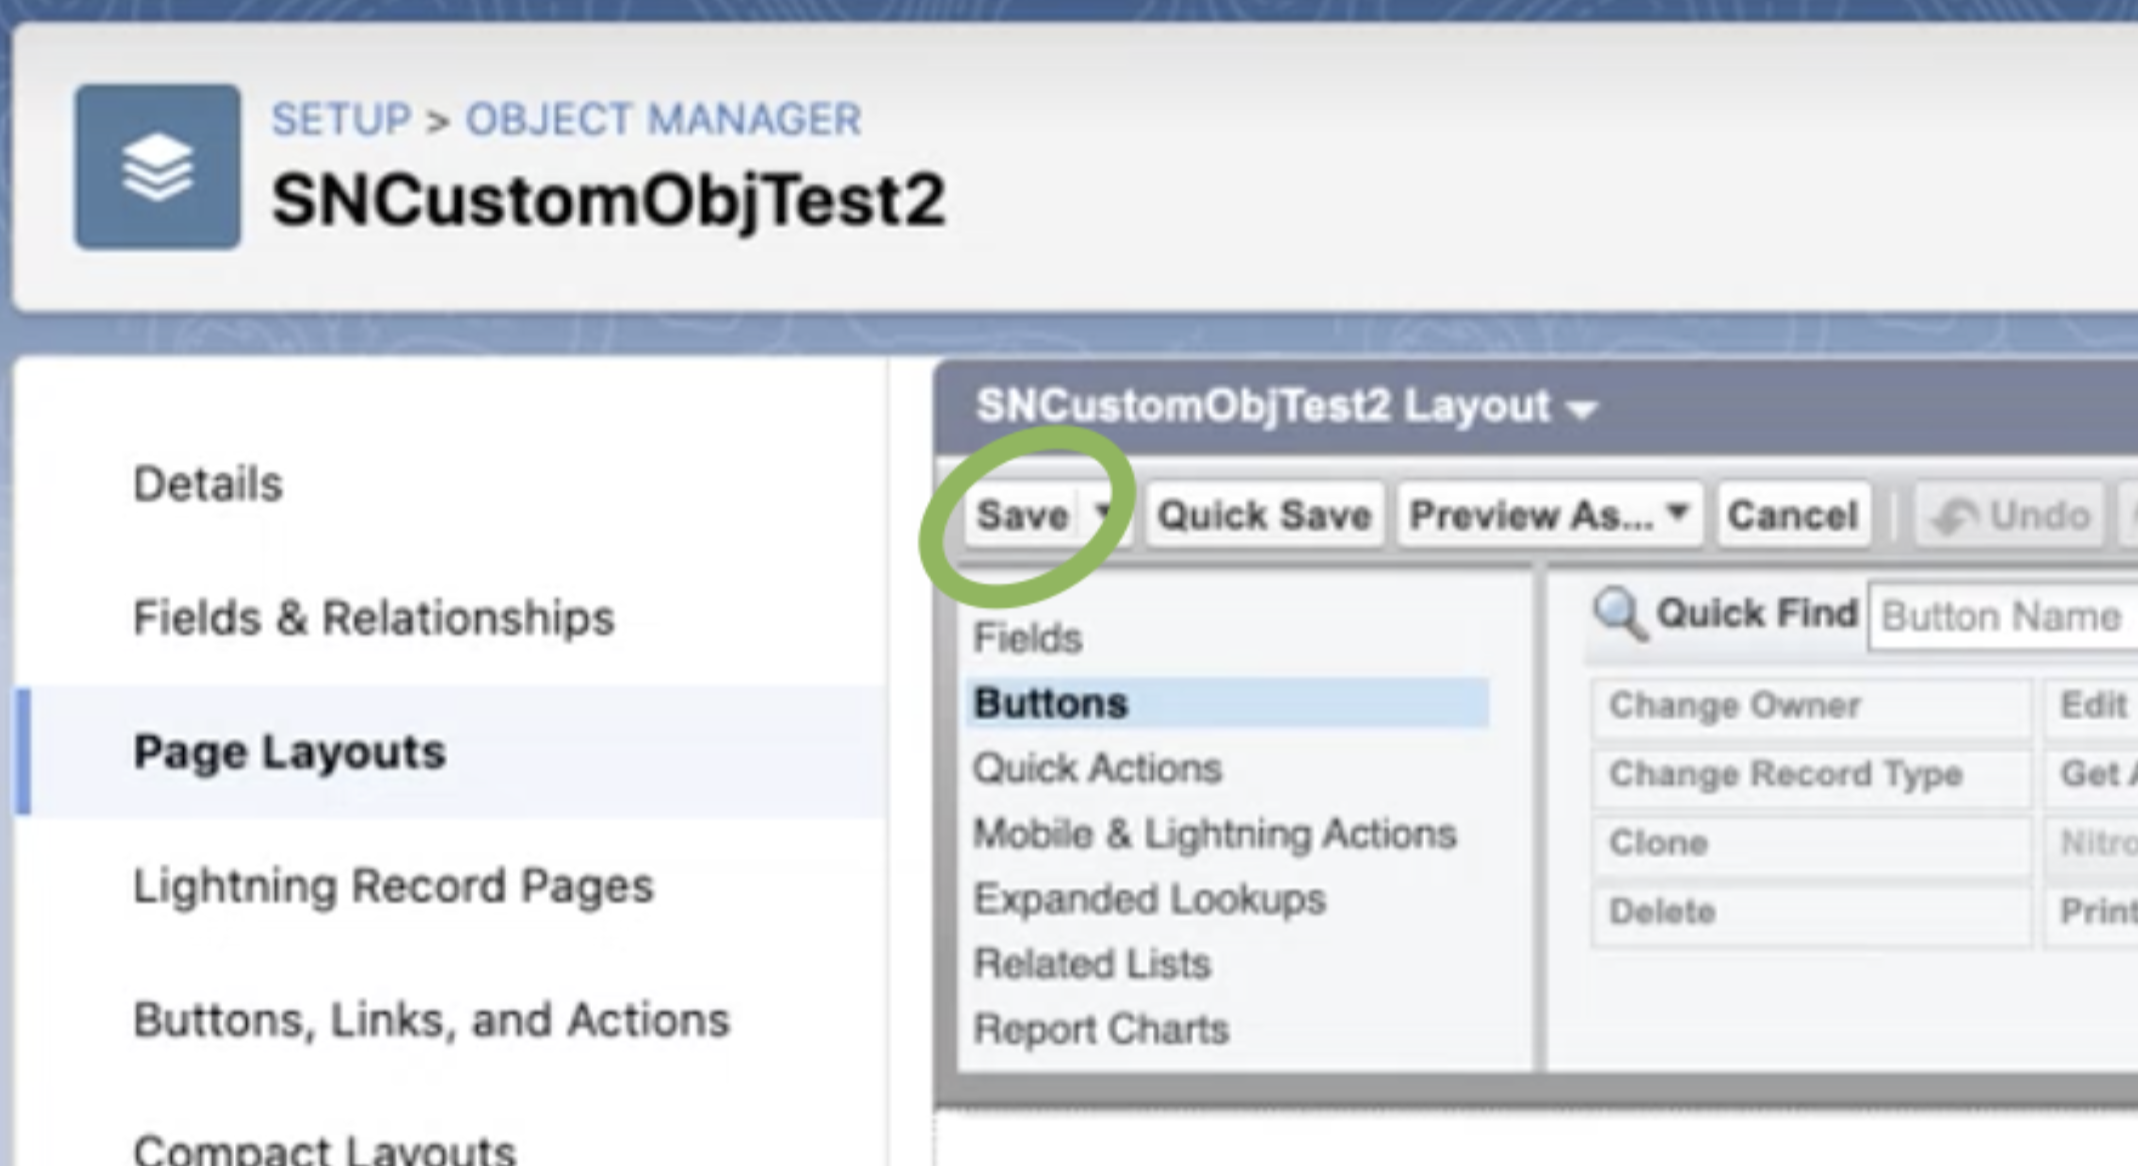
- Press save (as shown)
After successful completion of the above steps, Nitro Sign for Salesforce will be accessible via custom objects. For additional assistance please reach out to our customer support team.