Digital signatures are like paper-based signatures, but better because they include encrypted information to verify authenticity. This guide explains how to digitally sign a PDF, securely record the author’s identity, and ensure the content has not been altered. You’ll also learn how to lock documents after signing to prevent further changes.
How to digitally sign a PDF:
Follow these steps to add a secure digital signature to your PDF. You can choose a pre-existing digital ID or create one to sign documents with confidence.
- On the Protect tab, in the Certify Document group, click the arrow under Sign, and select a signature from the gallery. To sign a document, you must first have a digital ID. For more information, see Digital IDs and Manage Digital IDs.

- Click on the page where you would like to place your signature
- Nitro Pro prompts you to save the PDF file with the digital signature. Click the digital signature to view and confirm its details, and then save your PDF file. For more information, see View and validate certificates and signatures.
To lock a document after digitally signing:
After adding a final digital signature, you can lock the document to prevent editing, commenting, or further signing. This ensures your PDF remains secure and maintains its integrity.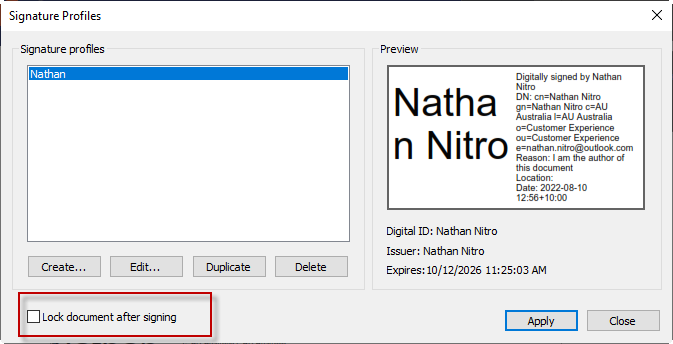
Locking a document disables all tools that can be used to change the document, such as editing, commenting, form filling, and signing. To unlock a document, the final signer must clear their signature by right-clicking on the signature and selecting 'clear signature field.'
If you wish to lock a document without a digital signature you can use Nitro's Certify feature - read the Certify PDF files article.
Note : Nitro Pro's Audit Trail will now notify the user when the document has been locked after signing.