You can customize digital signatures to make information you want to share visible, and also to display your physical signature, a corporate logo, or some other graphic you want to appear alongside your signature. You can edit the appearance of your signature at the time of signing a document, or at any time.
How to create a new digital signature
- In the File menu, click Preferences, expand the Digital Signature section, and select Appearances
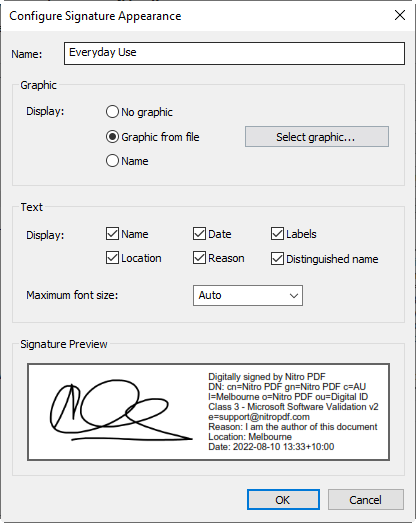
- In the Signature appearances section, click New. The Configure Signature Appearance dialog appears.
- In the Graphic section, select one of the following:
- No graphic: include no additional information
- Graphic from file: Click Select graphic, specify an image file of you signature, and then click OK
- Name: print your name as text
- No graphic: include no additional information
- In the Text section, specify which parts of your digital signature you wish to be visible and printable in a PDF
- Preview your signature, and then click OK
How to edit the appearance of a digital signature
- In the File menu, click Preferences, then Digital Signature, and then Appearances
- In the Signature appearances list, select a signature to configure, and then click Edit. The Configure Signature Appearance dialog appears.
- In the Graphic section, select one of the following:
- No graphic: include no additional information
- Graphic from file: Click Select graphic, specify an image file of you signature, and then click OK
- Name: print your name as text
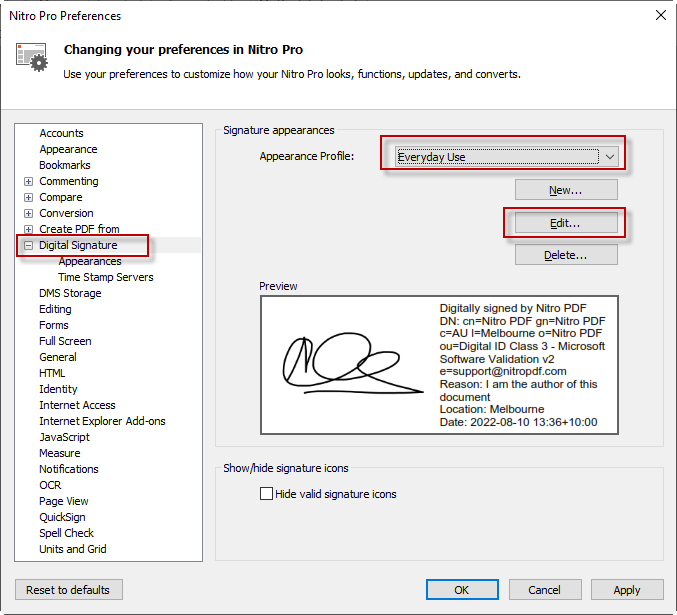
- In the Text section, specify which parts of your digital signature you wish to be visible and printable in a PDF
- Preview your signature, and then click OK
Last updated: June 2026