/Card-Page%20Previews-AI.png?width=1200&height=800&name=Card-Page%20Previews-AI.png)

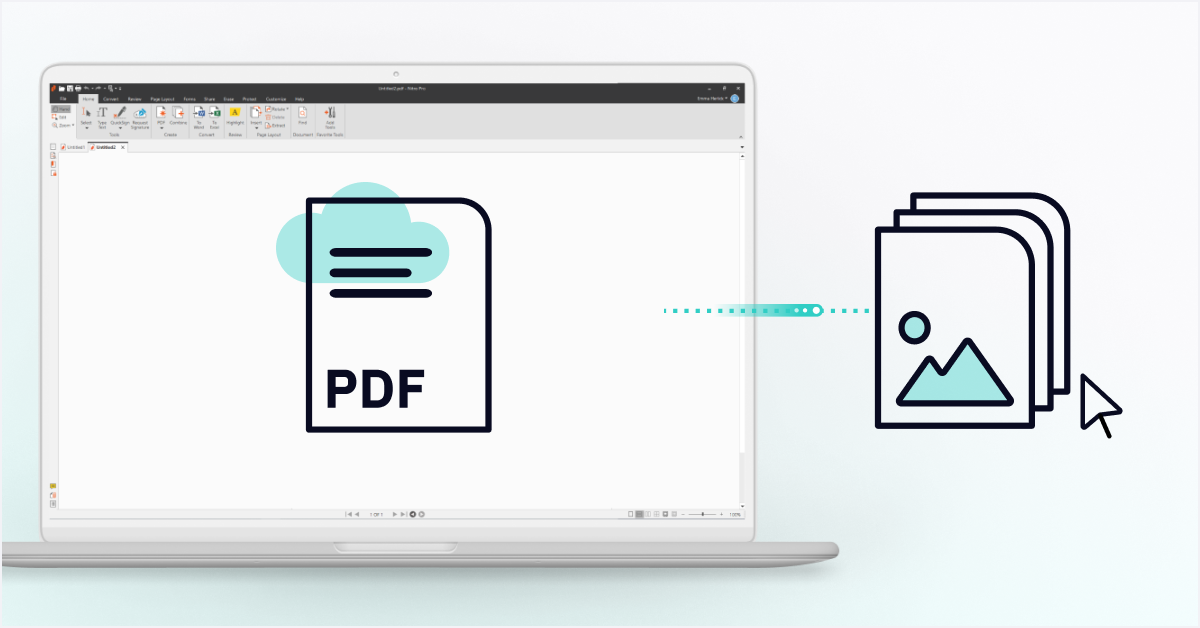
Converting images, like JPEG, PNG, or TIFF files into a PDF is the best way to maintain visual quality while optimizing file size for sharing, printing, or long-term archiving.
With Nitro PDF Pro you can also combine multiple images into a single PDF document and choose output quality profiles, such as Web Ready or Print Ready, depending on your needs.
This guide shows you how to convert images to PDF across Windows, macOS, and iOS devices quickly, easily, and without switching between multiple programs, using unreliable online converters, or sacrificing image quality.
How to convert images to PDF in Windows
Windows users can combine multiple images into a single PDF document while controlling output quality and archival settings.
With Nitro, you can drag and drop images, set your preferred resolution, and export your PDF in minutes, without losing image clarity.
1. Open Nitro PDF.
2. On the Home tab in the Create group, click PDF and From File. The Create PDF Files dialog will appear.  3. Select Add Files, locate the image(s) you want to convert, and click Open.
4. Click and drag the files to define the order in which they will be converted.
5. Click Settings and select one of the following options from the Make PDF files menu:
- Web ready: Optimizes the PDF file size for browser viewing and fast downloads
- Office ready: Optimizes the PDF file for satisfactory office printing quality
- Print ready: Optimizes the PDF file for maximum quality when processed on professional printers
- Custom: Configure your PDF output settings manually (see the settings explained in the Custom PDF creation settings section below).
 6. Click Settings and select one of the following options from the Folder menu:
- Specific folder: Select a location to save the converted PDF file before it is created
- Folder of original file: The new PDF file is saved in the same location as the source file
- Ask during the process: Specify a location for the PDF file after it is created
7. Check PDF/A-1b compliance to create an archival standard PDF file.
8. If you want to automatically open the new PDF after it is created, select Open PDF files after creation checkbox.
9. Click Create.
How to convert images to PDF on macOS and iOS
Here’s how macOS and iOS users can turn photos or scanned images into PDFs:
1. Open Nitro PDF Pro.
2. Click Open File.
3. Upload your chosen image (JPEG, TIFF, and PNG).

4. Your image will automatically convert to a PDF.
Save time and optimize your image-to-PDF workflow
Using Nitro PDF Pro, you can avoid size constraints, maintain image quality, and prevent unwanted watermarks. Beyond image conversion, Nitro’s powerful features can also help you:- Edit and markup files
- Create and fill PDF forms
- Convert multiple file formats
- Securely sign and certify documents
- Integrate with your favorite applications