Managing your Account
In the Workspace, Admins can easily see and access all the apps within your plan at once. You can adjust account settings by directly logging into your Admin portal via admin.gonitro.com; or, access the Amin portal under your Profile menu.To access the Admin portal from Workspace:
- Click on your Profile located at the top right corner of your screen.
- Choose Nitro Admin.
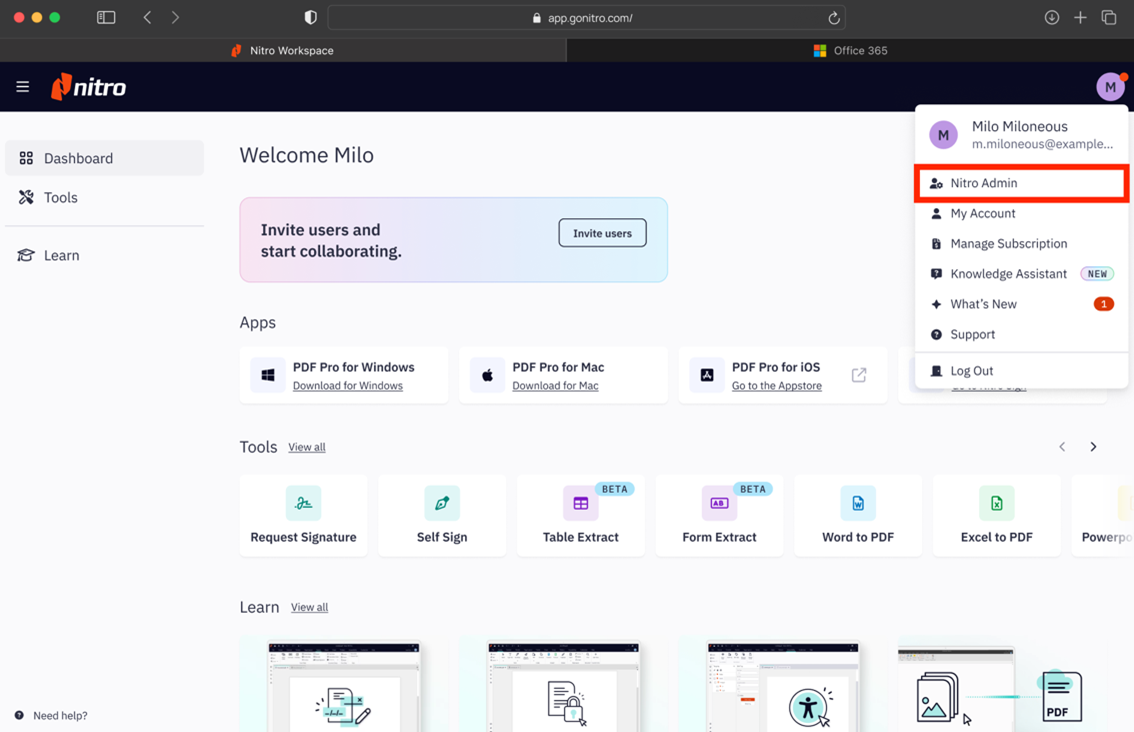
- In the Admin window, use the sidebar to navigate to specific sections to add users. To adjust display preferences for Workspace, navigate to Settings and select the Workspace tab.
Access to Nitro products and services depends on your user type. There are three major user types:
- Individuals: users who have individually subscribed to a Nitro plan and manage their accounts independently.
- Owner & Admins: accounts are managed by a company/ organization’s Administrator.
- Users: users who have access to specific Nitro products and services as determined by the organization’s Administrator.
Managing a Team Account
Owners/Admins of accounts can invite team members to access Nitro apps available in their organization’s plan.Learn how to create and manage your team from the Admin portal here: https://help.gonitro.com/user-guide/admin/article/managing-invites
There are two ways to invite users to access tools in the Workspace:
- Invite via the Users section in the Admin portal, or
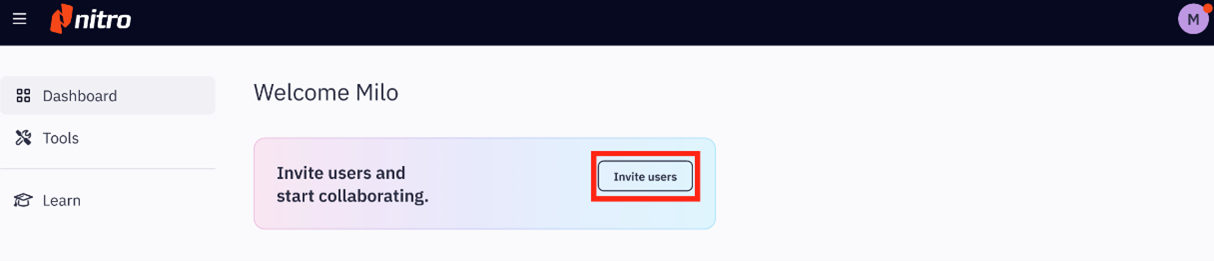
- Invite from the “Invite users” button in the Workspace dashboard. The “Invite users” button provides a direct link to the Users section in the Admin portal.
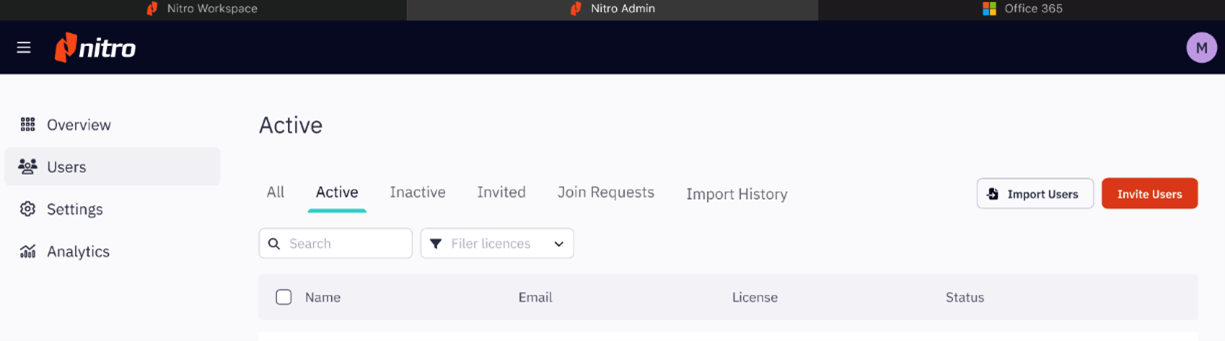
- From your Workspace dashboard, click on the Invite Users button
- In the Admin portal, click on “Import Users” or “Invite Users” to add users on your team
Managing User Permissions
Nitro apps, services, and web tools are available depending on your user type. However, global Admins can specifically edit and change an invited user’s access to web-based tools and services on the Workspace.Learn more about Admin and Workspace-specific settings here: Workspace Display Preferences
Adjusting Workspace Settings
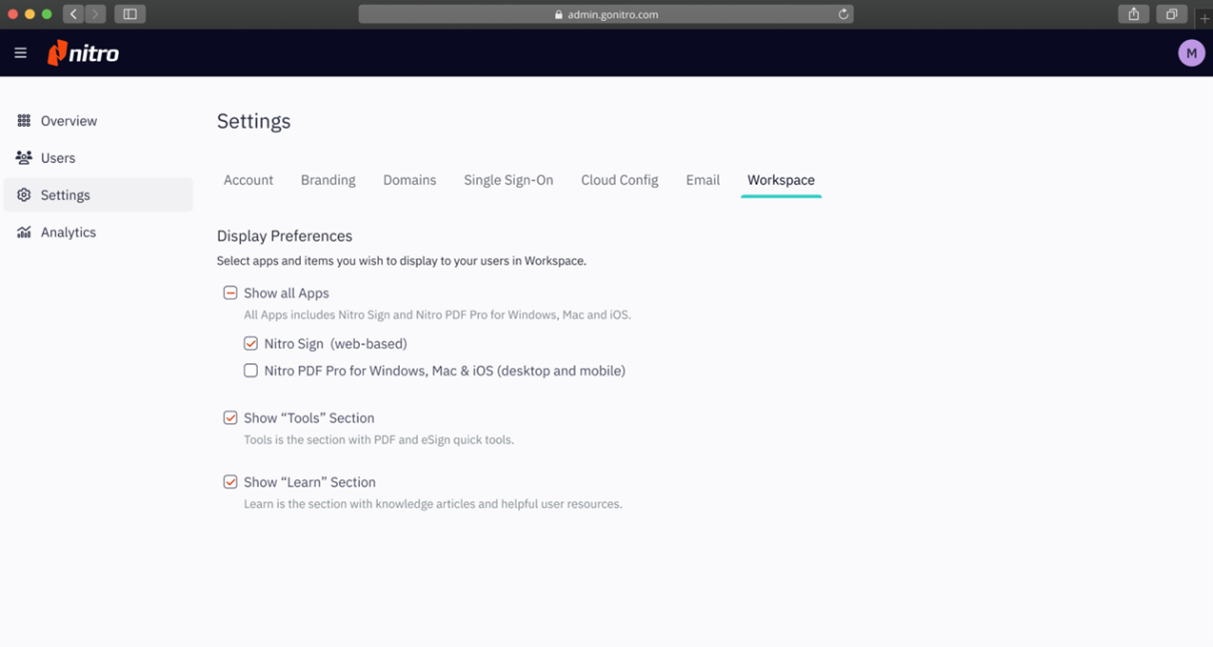
Admins can adjust the visibility of Workspace tools and services via Settings > Workspace tab in the Admin portal.
To manage the visibility of Workspace-specific tools and services:
- Sign in to the Admin portal (admin.gonitro.com).
- From the Admin portal, choose Settings in the sidebar navigation.
- In Settings, choose the “Workspace” tab.
- Select the items you wish to display to make available, or disable in the Workspace for your team.
Admin View:
You can disable (de-selected or unchecked) items to display if you do not want specific web-based Nitro tools and services to be visible to invited users.
Once items under Display Preferences are de-selected, these items will no longer be visible in the Workspace interface.
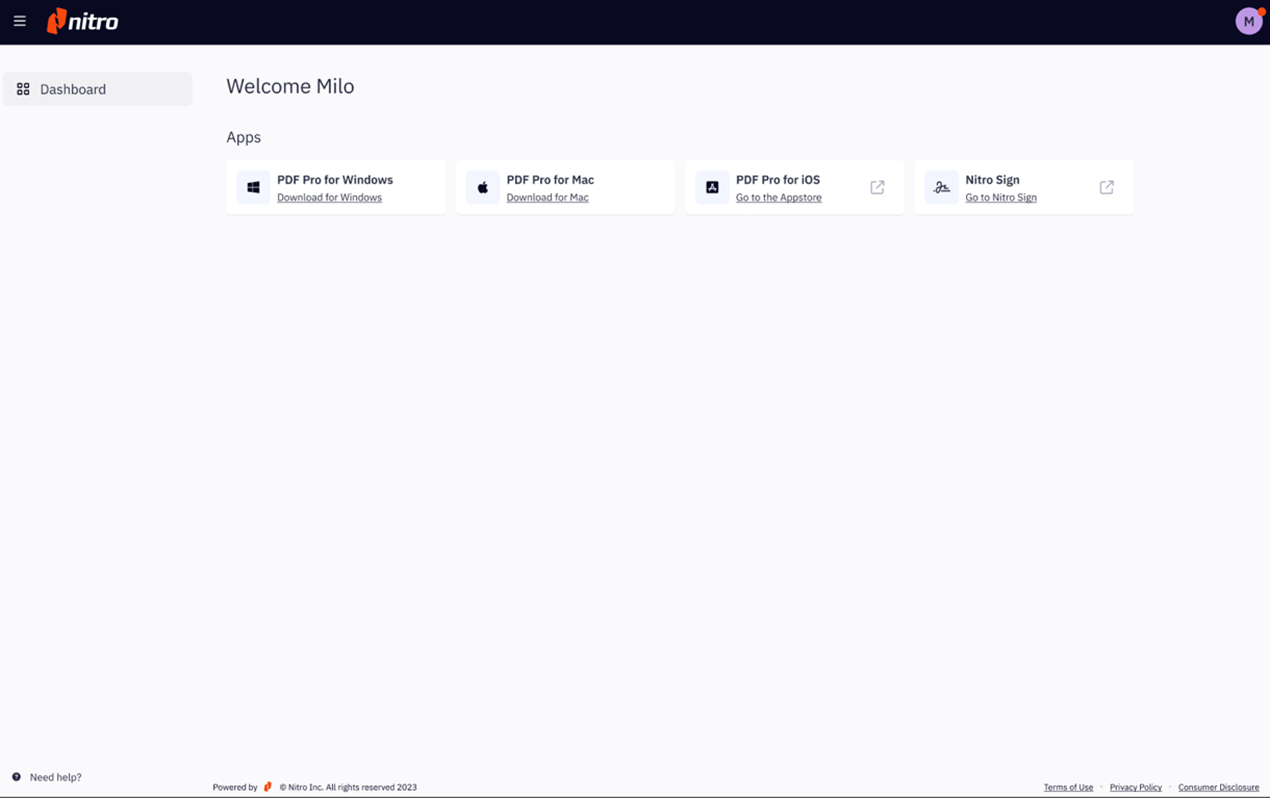
Example: only PDF Pro and Nitro Sign are available in the Workspace interface as per settings in the Admin portal.
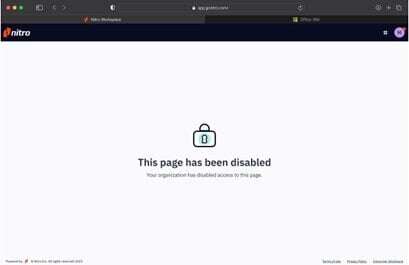
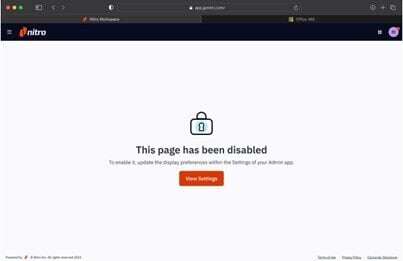
If all items under Settings > Workspace are disabled, Admins will see a page indicating the page has been disabled when logged into app.gonitro.com.
Note: Users in this state can only access limited tools under their Profile, such as Nitro Admin, Support, and Log Out.
Invited User View:
Invited users whose access to all web-based Nitro tools and services has been deactivated will only see a page with a message indicating that the page has been disabled when logged into app.gonitro.com.
Note: Users in this state can only access limited tools under their Profile, such as their profile information, Support, and Log Out.