Templates are ideal for repetitive signature request workflows that involve standardized documents - like sales contracts, purchase orders, or employee time off requests. Choosing to create a template will save any form or eSignature fields applied to the documents in that envelope, enabling you send it out to a new contact for completion without spending time re-adding the fields.
Templates can be created directly from the My templates section, or as part of a signature request workflow.
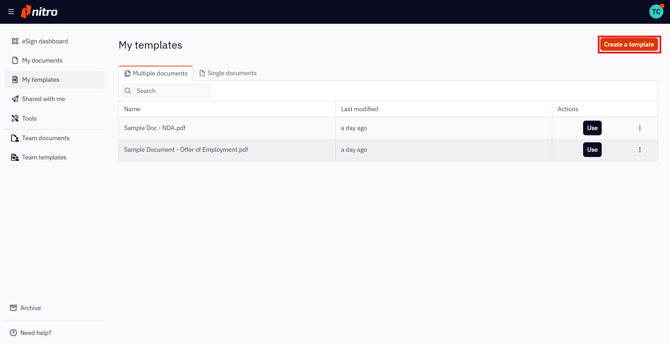
How to create a template from My templates:
1. Select My templates in the left menu of the eSign dashboard
2. Click Create a template in the top right of your screen.
Note: Nitro Sign imposes following limits with regards to templates, and the documents they can contain:
-
Maximum number of documents per template: 15
-
Maximum document size: 20MB
-
Maximum number of pages per document: 250
-
It can occur that non-PDF files, such as .docx or .jpg, exceed above document limits after conversion to PDF. If this occurs the converted file will not be accepted.
-
Maximum total size of the template: 300MB
-
Maximum amount of recipients per template: 200
-
Password protected or restricted PDFs are not allowed for signing
4. Once the workflow editor is shown, the first recipient is automatically added to the signers panel and labelled Recipient 1

5. If you would like to add additional signers to the template, click Add role in the signers panel
6. Select the first recipient in the signers panel, then drag and drop the required field(s) to the appropriate position(s) on the documents. Each field can be moved, resized, or changed to a different field type.
7. You can rename the template before saving it. Click the edit icon next to the template name at the top of your screen, rename the template, and select Enter
8. Once you're satisfied with all the changes, click Save Template at the bottom of your screen.Note: You can re-label each recipient on your template with a more descriptive name, like HR or Manager, for example.
How to save a signature request as a template
1. Initiate a Signature Request workflow.
2.Prepare the documents according to steps 1 - 7 in the Prepare and Send Signature section of the article linked above.
3. When you get to the Review screen, check the box labeled Save as Template before sending the envelope for signature.
