
Add watermarks and backgrounds
Use Nitro PDF Pro to add watermarks and backgrounds to one or more pages in a PDF document. You can insert text, images, or PDF content and control position, size, opacity, and placement. You can also save, import, and export watermark profiles for reuse.
To manage watermark profiles:
- On the Page Layout tab, in the Page Marks group, click the arrow below Watermark, and then select Manage Watermarks and Backgrounds

- The Manage Watermarks & Backgrounds dialog opens
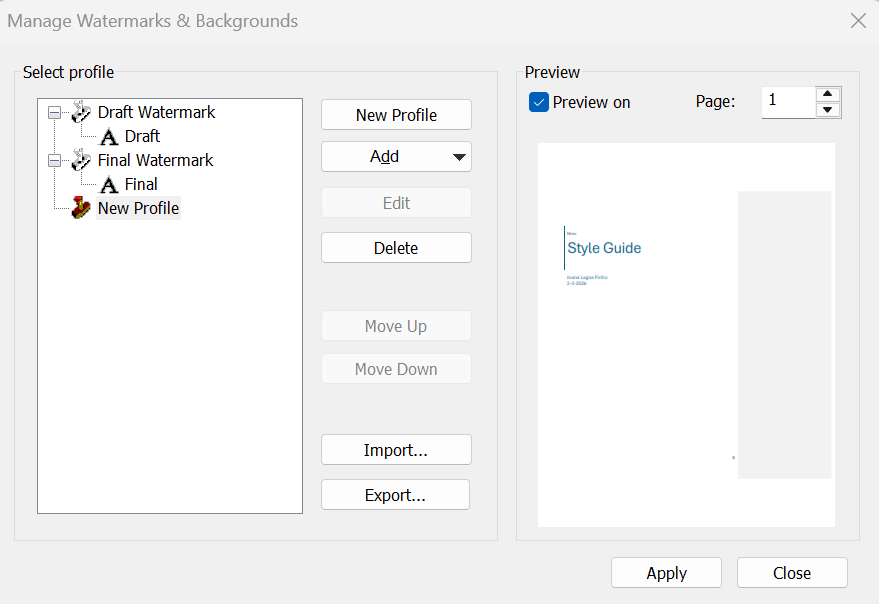
- In Select profile, view available watermark profiles
- Expand a profile to view all watermarks and backgrounds
To manage profiles:
- Rename: Double-click a profile and enter a new name
- Create: Click New Profile, then enter a name
- Delete: Select a profile and click Delete
Note: The order of profiles determines their order in the Apply to Document menu.
To apply a watermark profile:
- In the Manage Watermarks & Backgrounds dialog, select a profile
- Click Apply
To add a watermark or background:
- Open the Manage Watermarks & Backgrounds dialog
- Select a profile, then click Add
- Select a content type:
- Text
- Image
- Configure properties:
- Enter a name for the watermark
- Select Overlay or Underlay
- Set position, size, opacity, and other options
- Click Save
To import or export watermark profiles:
- Open the Manage Watermarks & Backgrounds dialog
- Do one of the following:
- Click Export, then save the profile as a .nxp file
- Click Import, then select a .nxp file
Note: Images are referenced and not included in exported profiles
To apply a watermark from the ribbon:
- On the Page Layout tab, in the Page Marks group, click the arrow under Watermark, and select Apply to Document
- Select a watermark profile
To remove all watermarks and backgrounds:
- On the Page Layout tab, in the Page Marks group, click the arrow under Watermark, and select Remove Watermarks
- Click OK
To remove a single watermark or background:
- Select the Edit tool

- Select the watermark or background
- Right-click and select Delete