
To Enable the Nitro Add-in
- Open Microsoft Word, Excel, or PowerPoint
- Select the Home tab
- Select Add-ins
- Select More Add-ins
- In the Office Add-ins window, search for Nitro
- Select the Nitro Add-in
- Select Add
- Select Continue to accept the terms and conditions
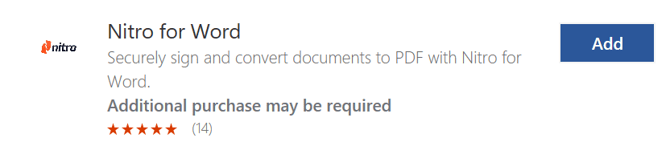
- The Nitro Add-in (Nitro for Word/Excel/PowerPoint/Outlook) appears on the Home ribbon

To Send a Document for Signature (Microsoft Word, Excel, and PowerPoint)
You can send documents for signature from Microsoft Word, Excel, and PowerPoint.
Note: ODT files are not supported.
- Open the document that you want to send
- Make any required changes
- Verify that the Nitro Add-in is enabled
- On the Home ribbon, select Send via Nitro for Word/Excel/PowerPoint
- In the Nitro Sign pane, select Send to Sign
- Enter your email address and password
- Select Continue
- After the upload is complete, select View envelope
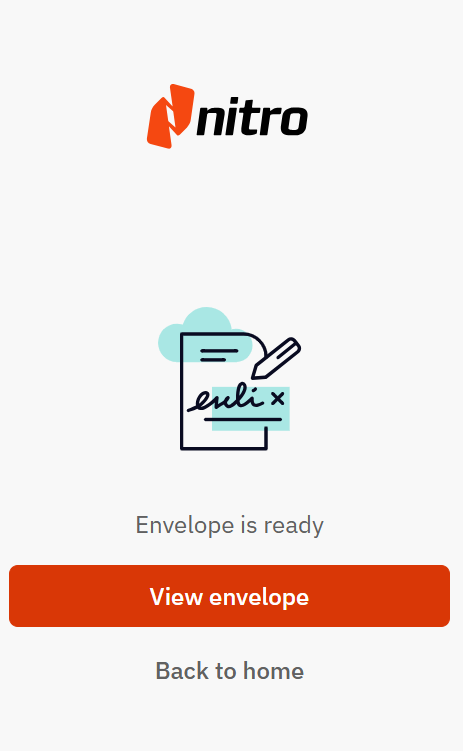
- Nitro Sign opens the document. You can send the signature request, add more files, or save the envelope as a draft.
To Send Attachments for Signature (Microsoft Outlook)
You can send single or multi attachments for signature from Microsoft Word Outlook.
Note: ODT files are not supported.
- Open an email with attachments
- Ensure the Add-in is enabled, then select the Nitro Add-in button from the Home ribbon
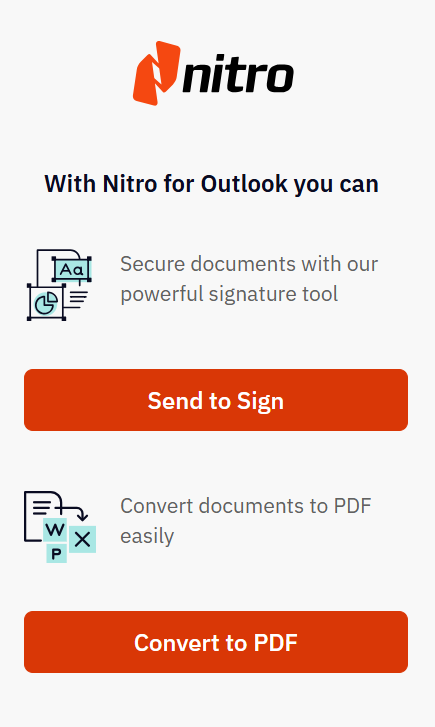
- Once the Nitro tab opens on the right-hand side of the window, select Send to Sign from the Home page
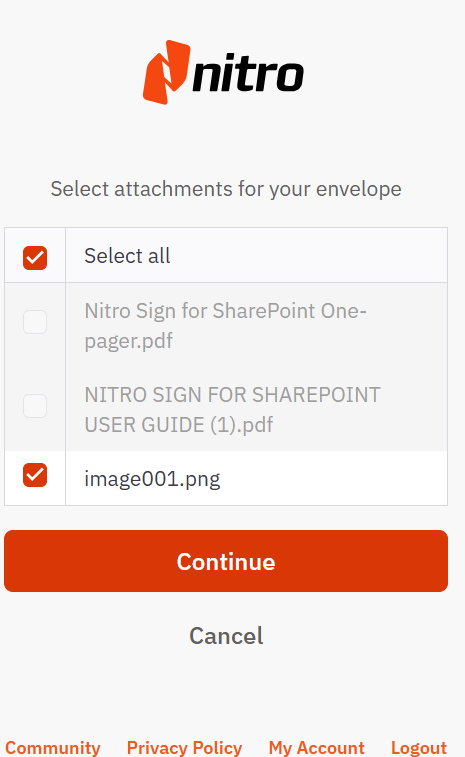
- Select the attachments you want to include in your envelope to be sent for signature from the document picker
- Enter your credentials in the Email and Password fields to log in and click Continue
- Once the document upload is complete, click View envelope in the right panel to view and prepare it for signature. For more information, visit send an eSignature request.
Note: If your email does not contain attachments, you can only use the Convert to PDF feature. The Send to Sign feature is available only for emails with attachments.